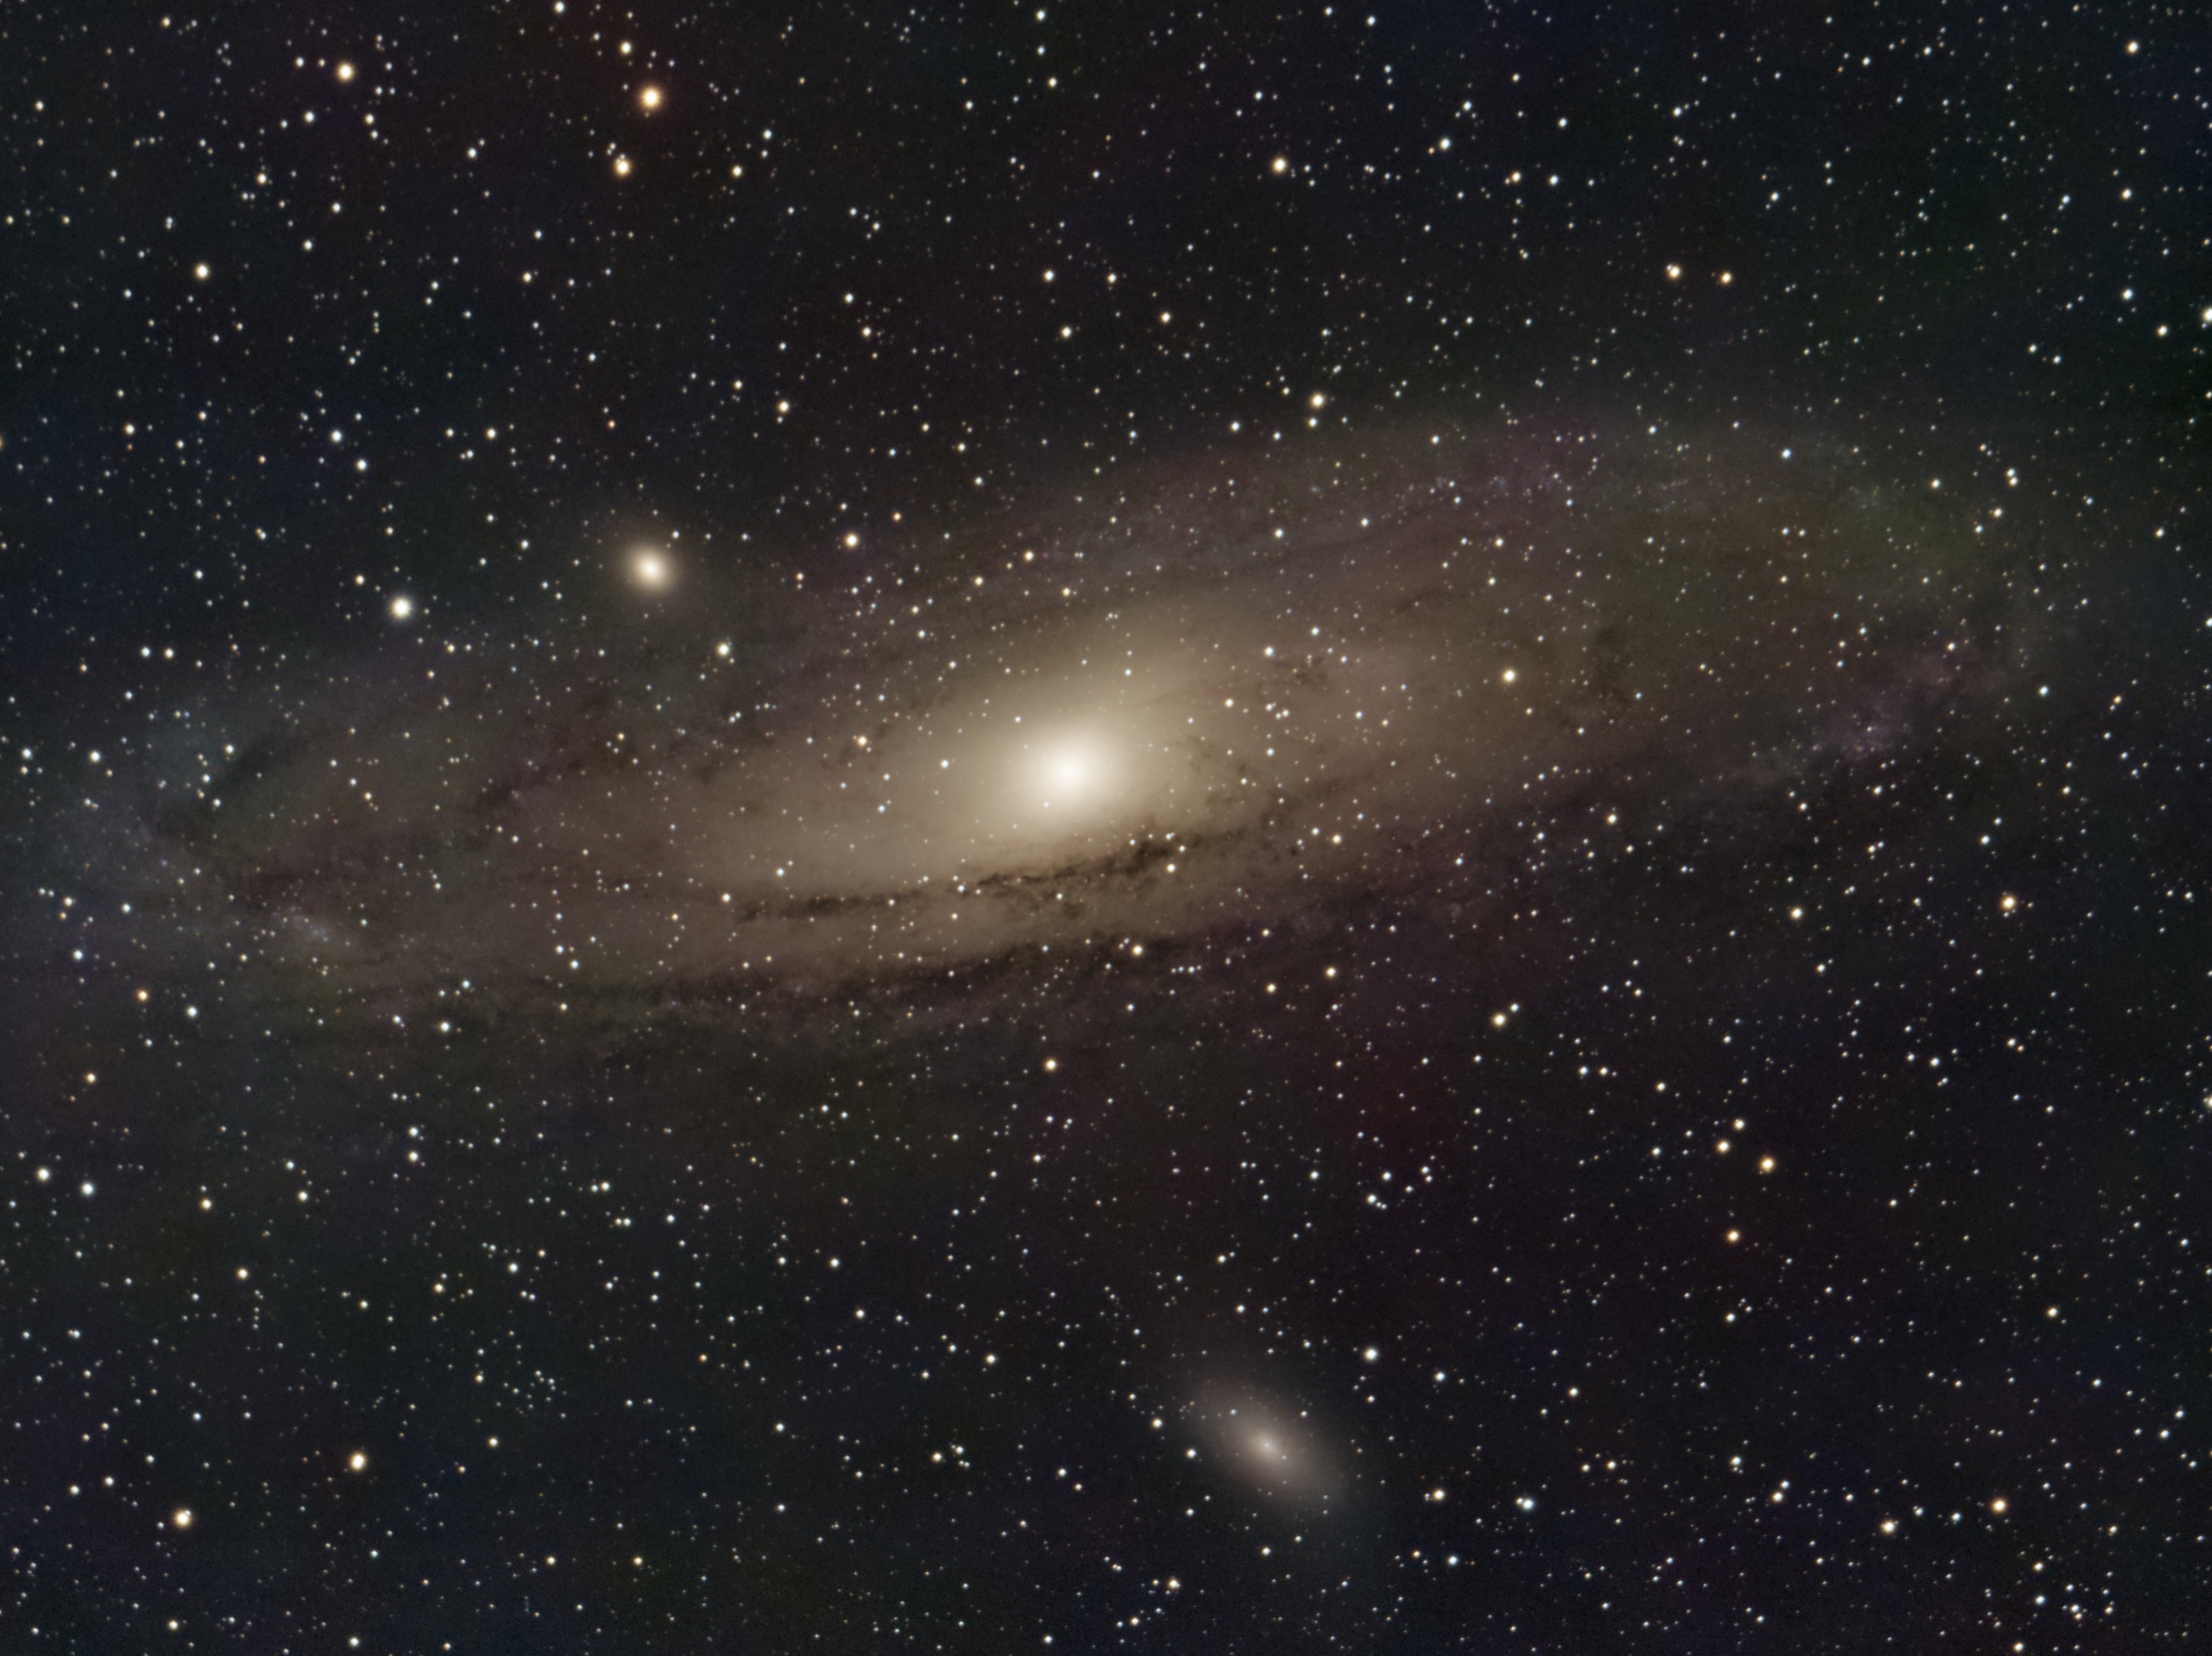
Messier 31, Messier 32 and Messier 110
it’s been a couple of months since work and weather have cooperated to allow me to attempt any imaging. When a night finally showed clear, even though the moon was 80% illuminated, I jumped at the chance.
My goal was not necessarily to get a usable to image but experiment with short exposure photography. I’m still fighting with tracking issues with my mount and hoped that limited exposure time would minimize those problems showing up in the images. What I wasn’t sure of is whether the resulting image would have enough signal in faint areas to overcome the read noise of the sensor.
I opted to use 15 seconds at gain 120 on the ASI294MC Pro and decided not to guide because the guiding was beyond terrible. I really need to figure out what’s going on there. My RA may need a trip out to Losmandy which doesn’t make me happy. Instead I chose to use Signal Generator Pro’s “Direct Guide” which is really not guiding at all, instead it just allows SGP to dither which is essential to mitigate fixed pattern noise in the sensor.
I tried a single 15 second exposure and it came out like this:
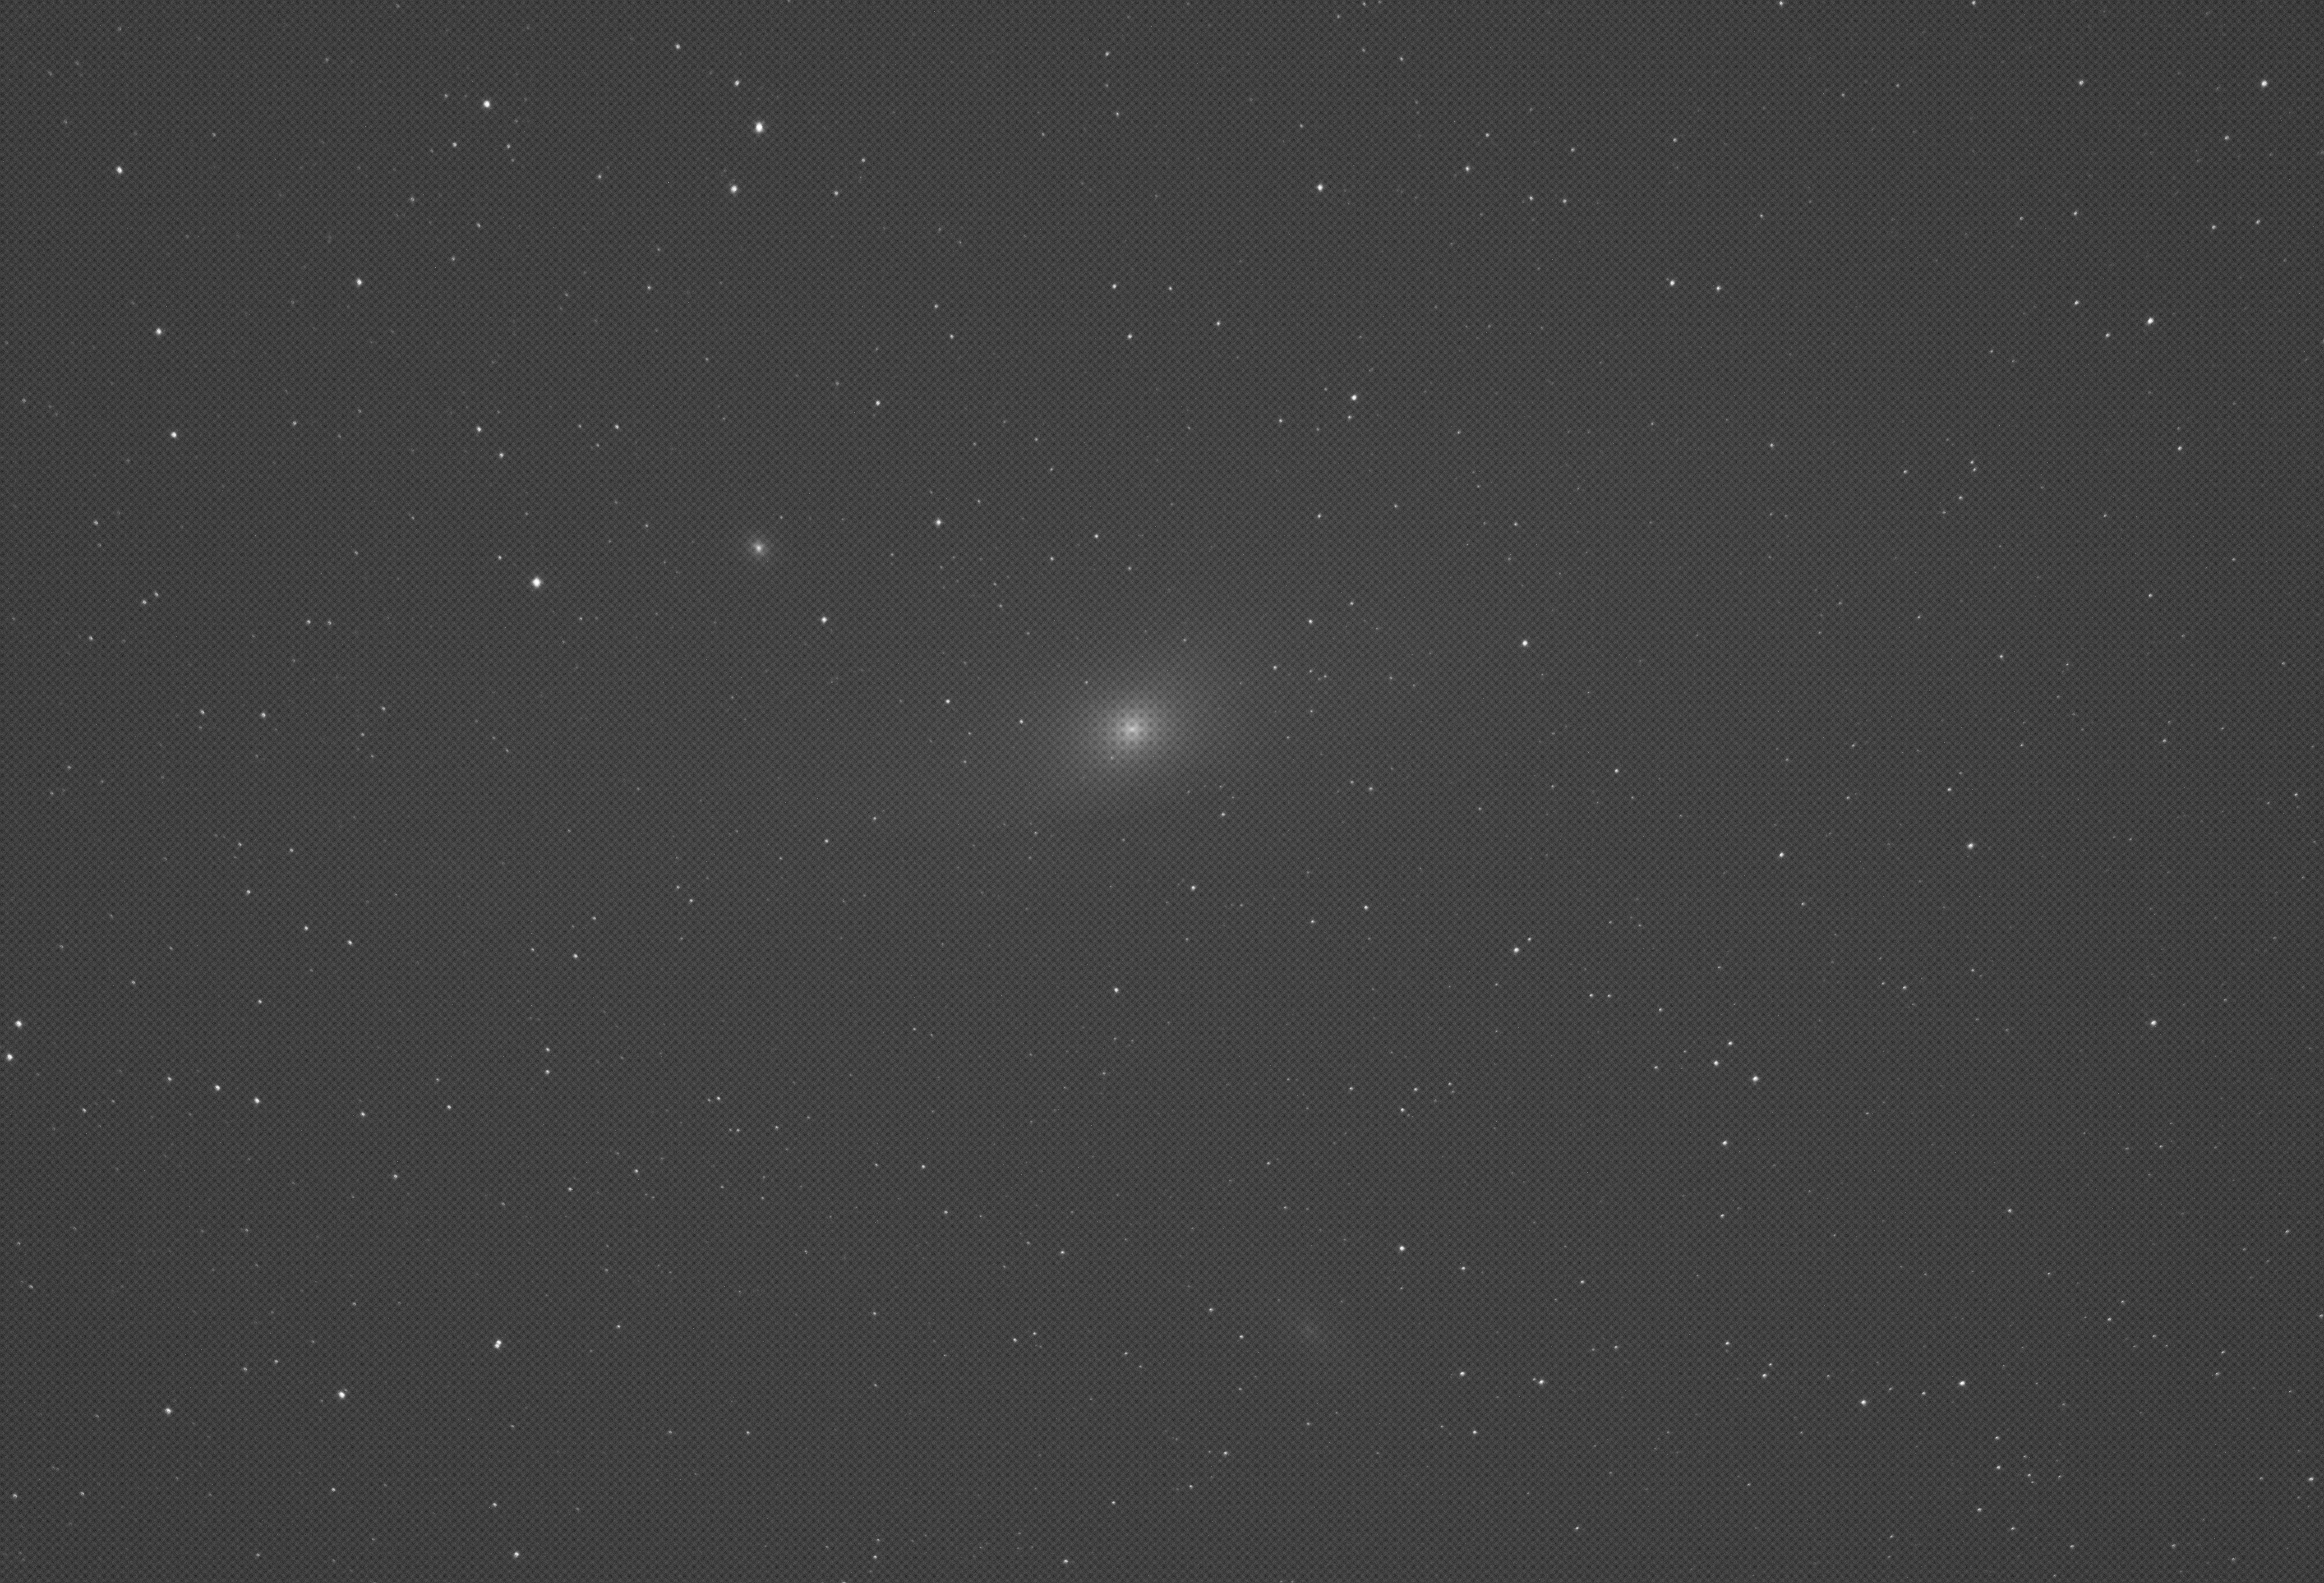
single 15 second exposure
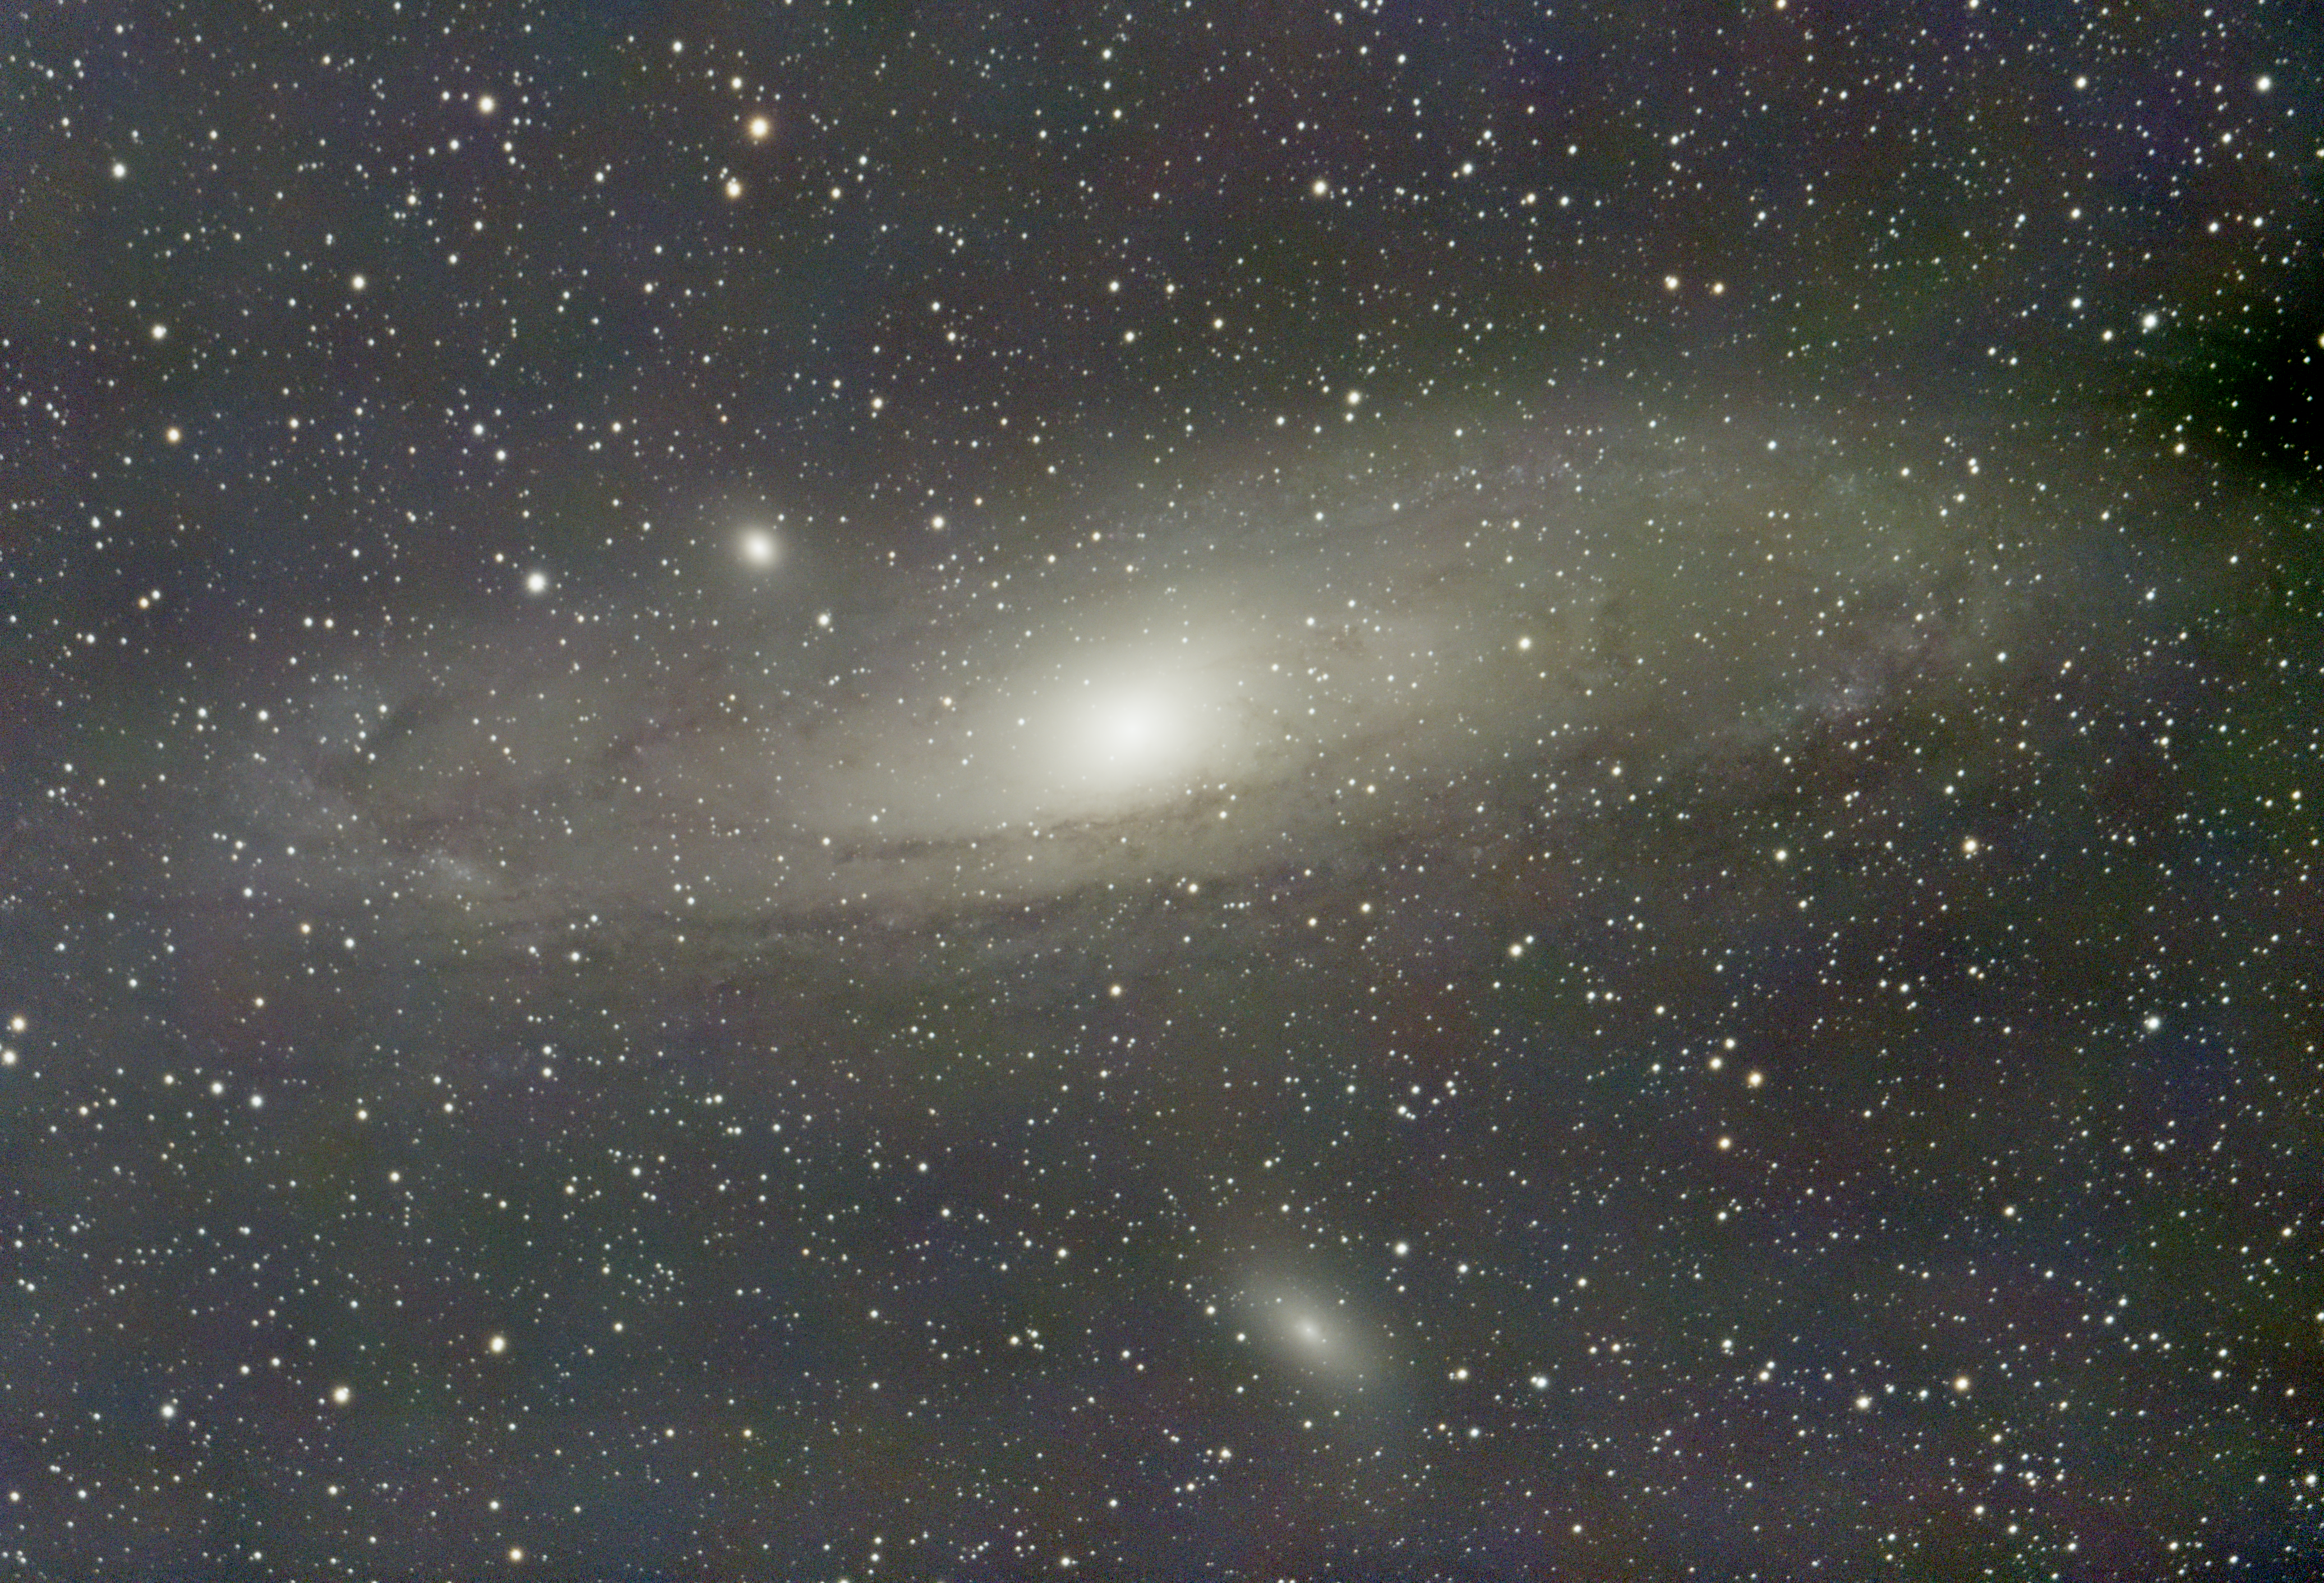
That’s got PixInsight’s ScreenTransferFunction applied so it’s a stretched image. As it turns out, that’s not much different than it looks through my C8 when visually observing.It’s not especially inspiring. One of my biggest disappointments as an amateur astronomer was seeing M31 for the first time. It looks nothing like it does in the photos. The reason, of course, is those photos have hours of collected light where our eyes, get maybe a tenth of a second at best. The light is just so faint, our eyes can’t really react to it. But, collect enough of that light and lots of details start popping out. Here’s what happens when you take 621 of those 15 second exposures and integrate them:
integrated & outstretched
As above, this is an auto-stretched image. I was amazed at how promising this looked! Though it’s 621 sub exposures that is only a total of 2.5 hours of collected light. Unfortunately, M31 went behind the neighbors tree then.
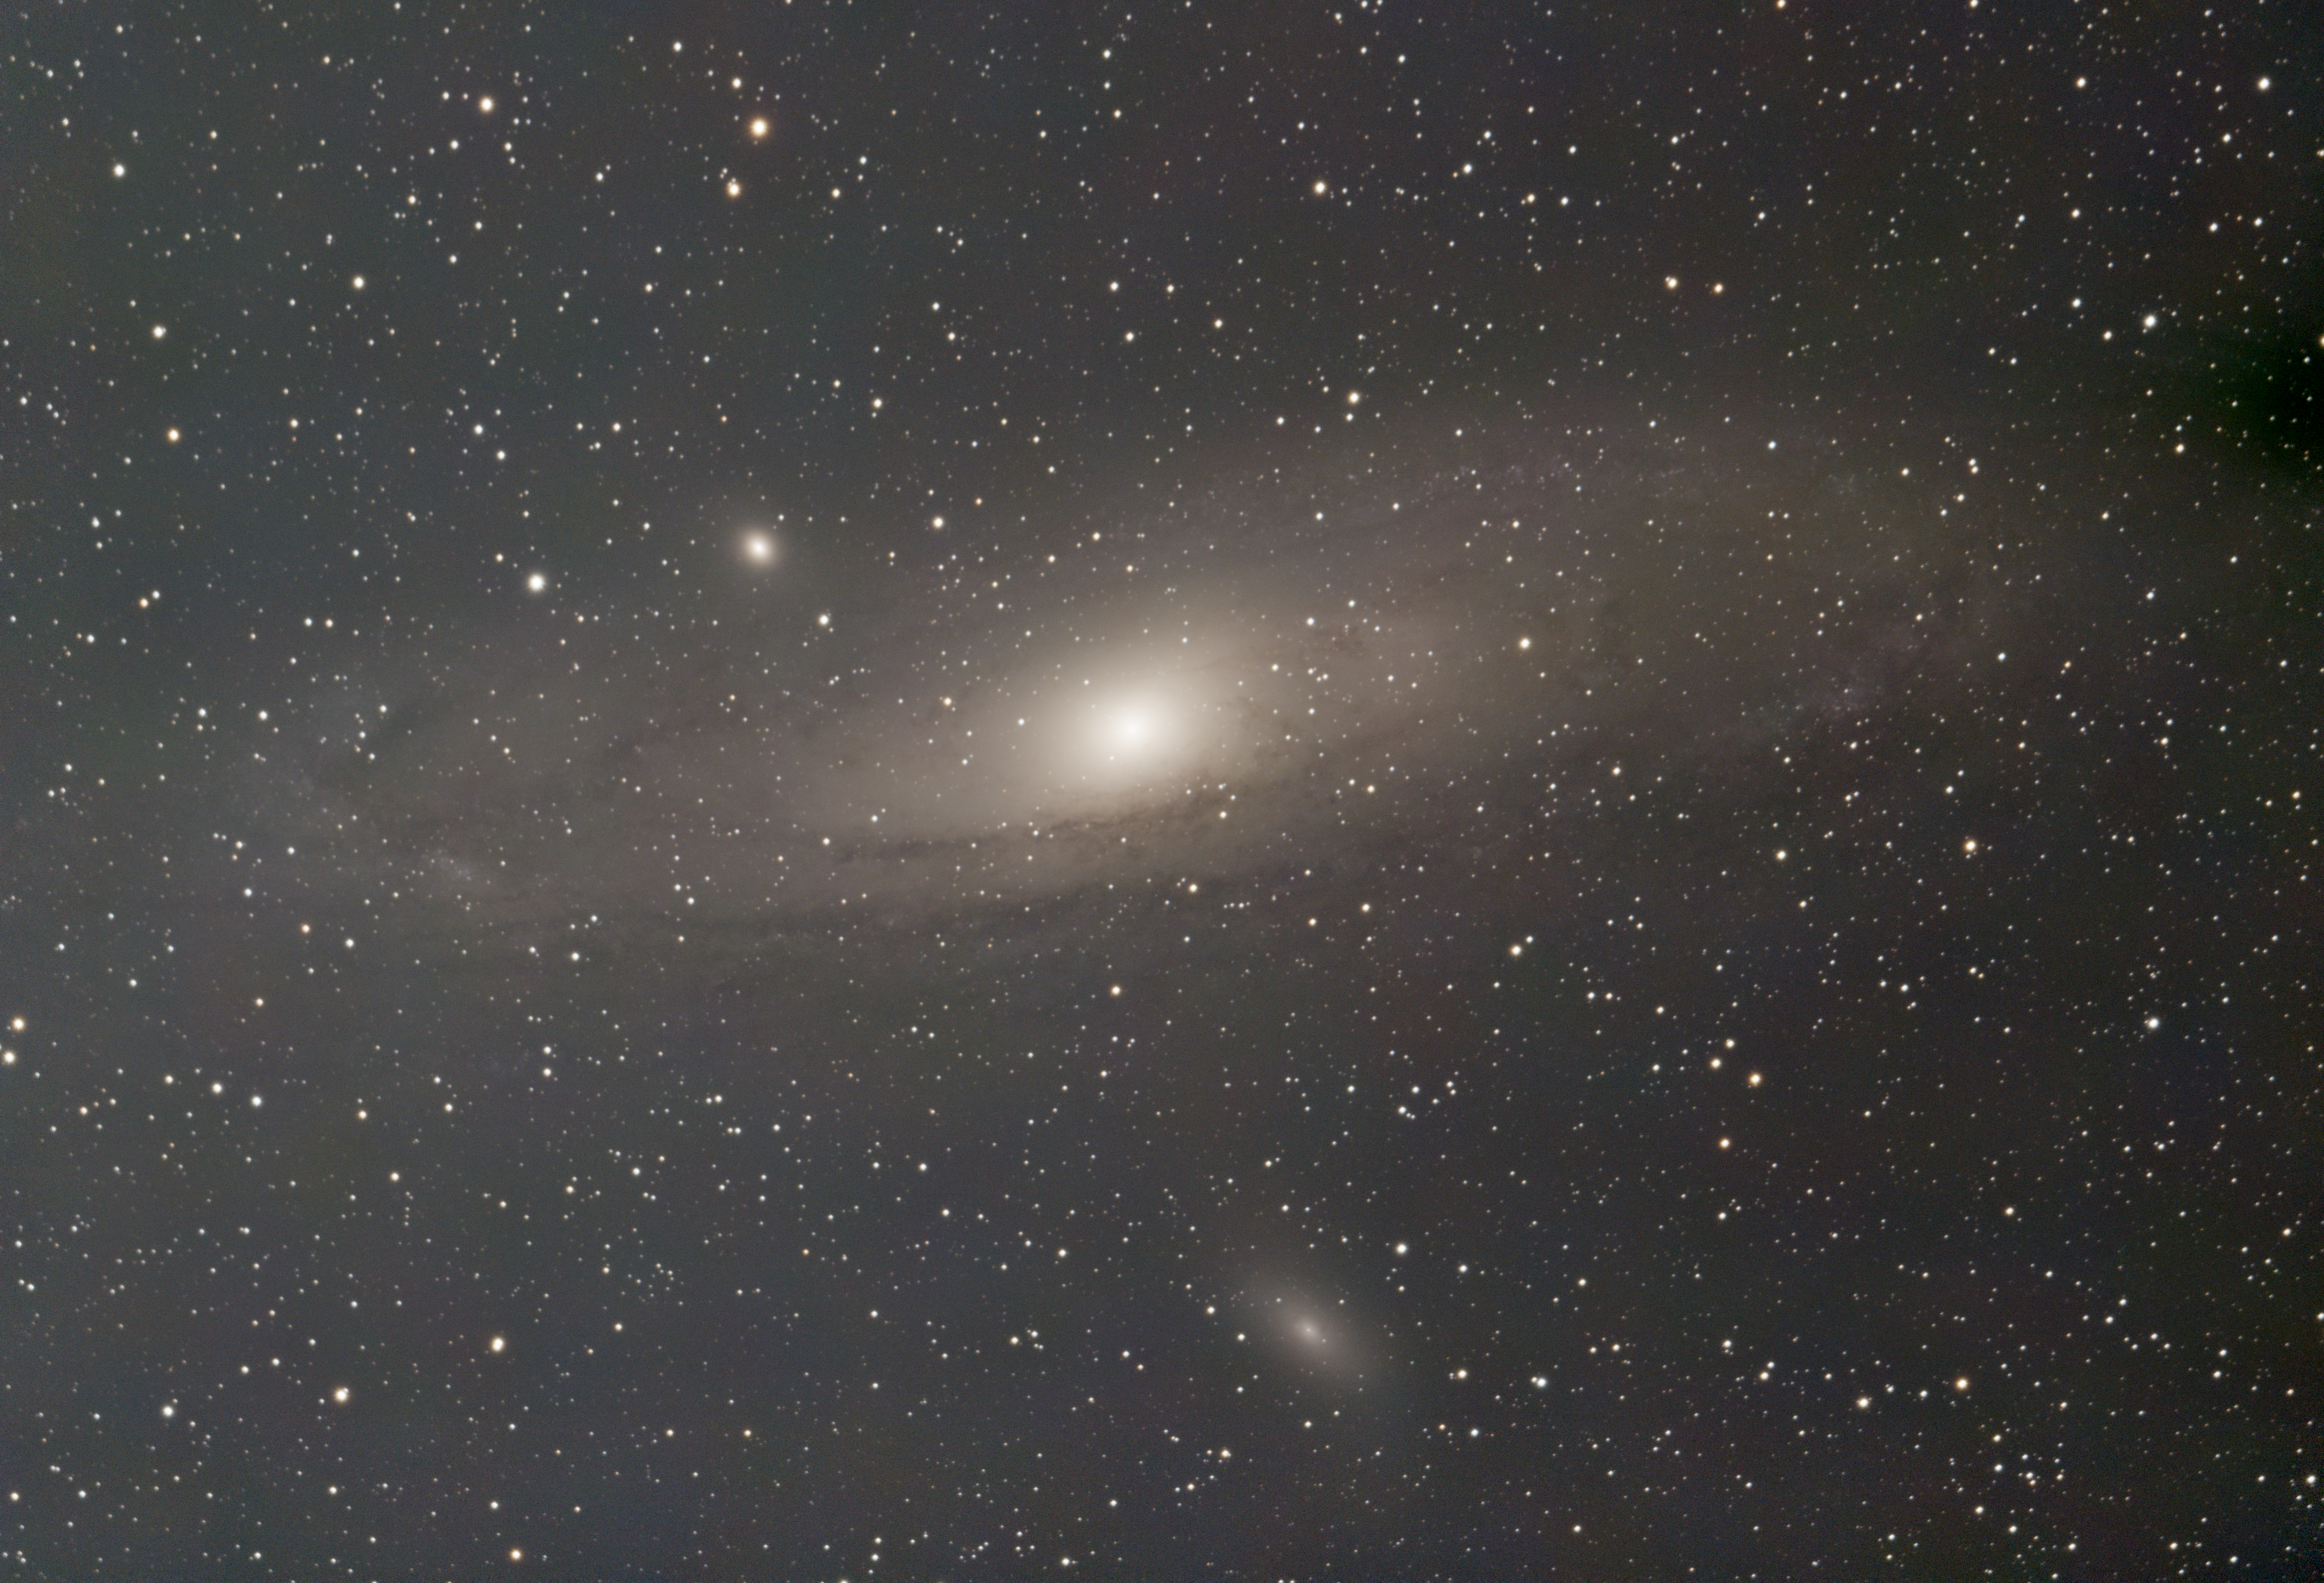
The first step was to eliminate those gradients running from left to right across the image. Those are caused by the combined effects of light pollution and that nearly full moon. You can see how much they wash out the image. I ran PixInsight’s Dynamic Background Extraction tool and got this:
after DBE, autostretched
The gradients are largely gone but there is this blotchiness in the background that is not supposed to be there. Is that noise or perhaps an artifact caused by bad calibration files? There has been some discussion on the Cloudy Nights forum about blotchiness in ASI294 images and this might be it. I’m going to have to explore what’s going on here but for now I opted to proceed. forward. I was hoping I could minimize the visible effects since the final image wouldn’t be stretched as aggressively as the STF stretch. Also, integrating 621 images on my six year old computer took three hours so I didn’t want to go through that again unless I had a clear plan in place. It takes too long to just try random experiments.
In the past I’ve tended to have a fairly heavy hand with my processing. Strangely, this is something I don’t do with normal photography but I think subconsciously I was trying to pull as much out of mediocre data as I could and the final image suffered for it. This time I consciously kept reminding myself to tread lightly.
After, the DBE step I ran PCC (Photometric Color Calibration, then cropped the image to remove the edges. Next I ran Multiscale Linear Transform (MLT), first to reduce luminance noise and then a bit more aggressively to reduce chrominance noise. That didn’t help the blotchiness which is far too large a scale to be noticed by my MLT settings.
Next it was time to stretch the image and I opted to iteratively use Histogram Transformation to slowly bring the levels up. I think I used six or seven total iterations. The challenge was to avoid clipping the core of the galaxy which is quite a bit brighter than the disk. I wanted to leave some headroom for contrast enhancement later so didn’t want to go too far here.
Next I ran Curves Transformation to boost the color saturation. Again, I opted to be relatively modest here. This was followed by Local Histogram Equalization which helped bring out some of the structure of the disk but I had to be careful to not go too far with it or it started to look unnatural. This was followed by Curves Transformation again, to boost overall contrast. The goal here was a general contrast boost and to bring that background blotchiness down enough that it wasn’t objectionable without making the background unnaturally dark.
There was one last processing step, the Enhance Dark Structures script, run with default settings. This brought a modest boost to the dust lanes. This is where I stopped. I tried some HDR Multiscale Trasform to try to help balance out the dynamic range but I wasn’t able to get a result i was happy with so opted not to keep it. The final result is the image at the top. For an experiment that I went into thinking I wouldn’t get anything usable, I think it has a lot of promise. It’s not perfect and would definitely benefit with more time. If I get a chance during the next week I hope to add some more time to this.
If anyone has any suggestions or feedback I’d be happy to hear it.
You can find the image on astrobin.
