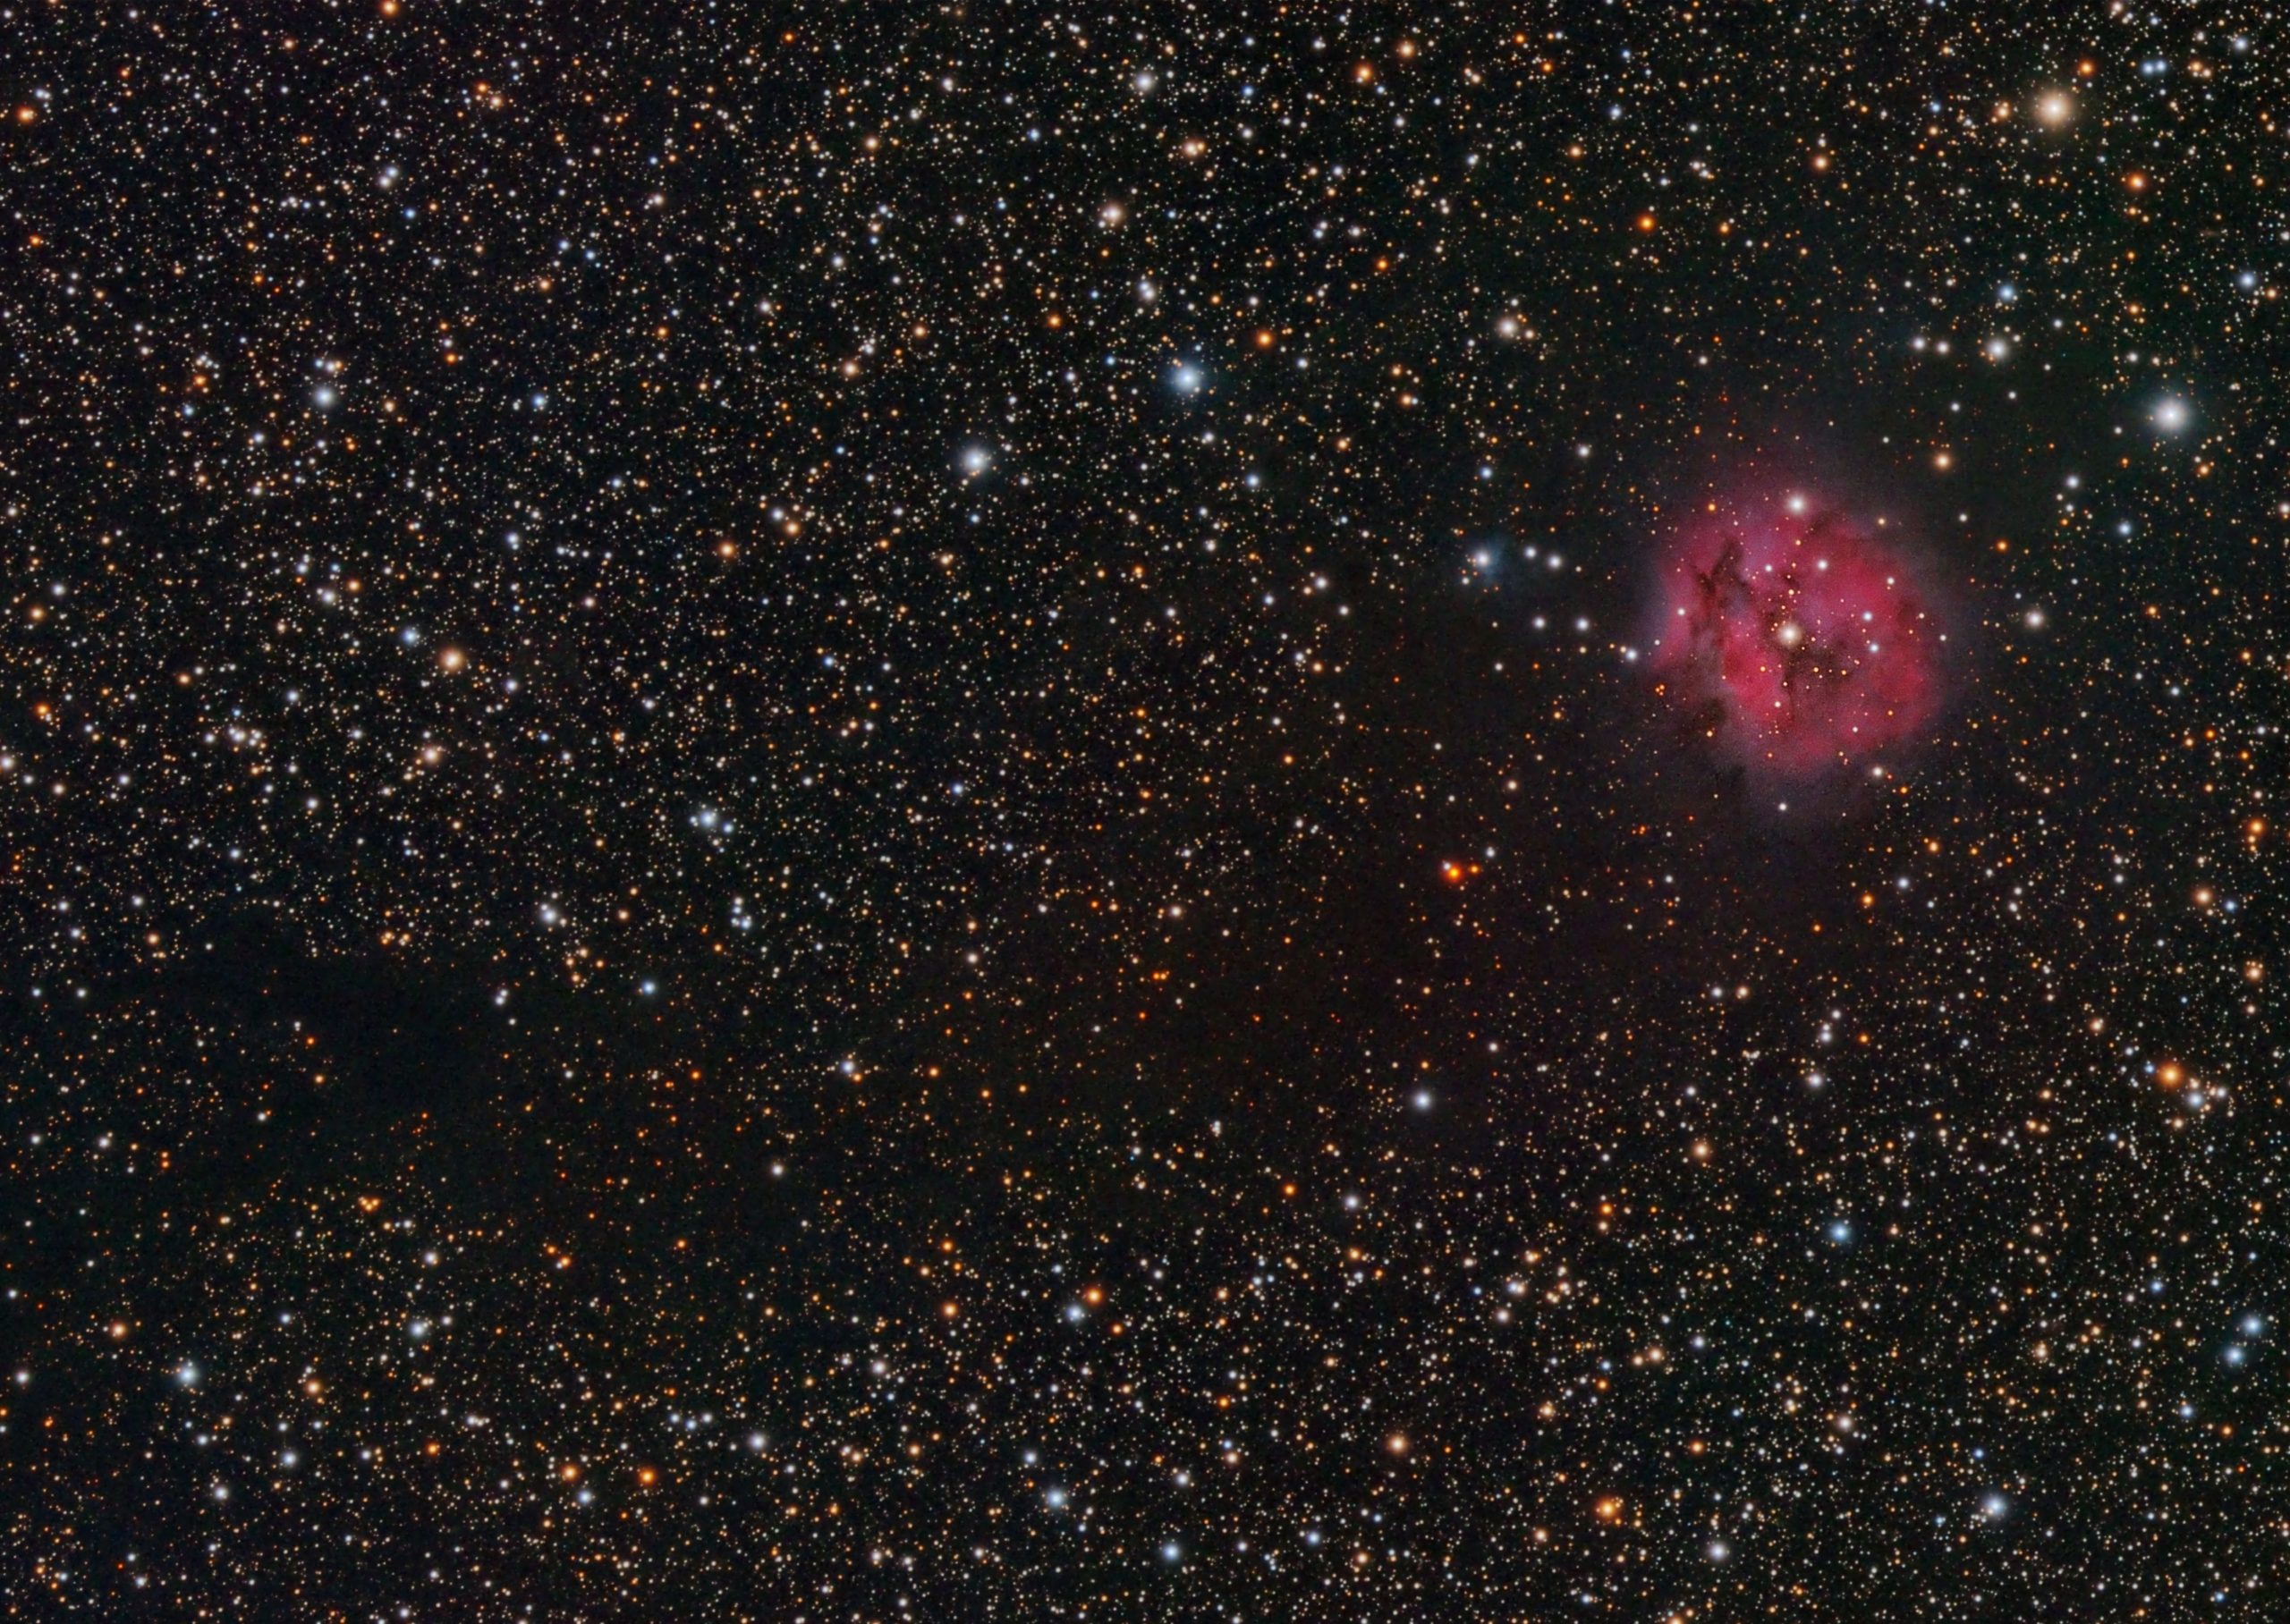
Cocoon Nebula
This data actually is about six week old at this point. It was challenging to process and I was hoping to get more but six weeks of clouds have pushed Cygnus far enough west that I won’t get much time on it now (thanks to a tall tree in a neighbor’s yard). So I decided to dive in a see what I could do. Also, the recent announcement of the Weighted Batch Pre-processing script for PixInsight motivated me to give it a try.
I liked the changes in WBPP but there are three things I’d love to see added.
- Better support for sessions (instead of having to enter custom entries with error prone data entry)
- integrating locall normalization into the script with support for automatically choosing the best reference frame (as it now does for registration).
- Support for subframe approval expressions to automatically weed out the obvious duds.
Together these would make this fantastic tool even better!
In this case, this is 8.3 hours of data acquired over two nights. It was an experiment using gain 15 and one minute exposures. I think that might be on the edge of too short so I may give gain 25 a try for the next time out.
There were some other firsts in this one. I used drizzle integration and was quite happy with how it came out.. In the past when I tried drizzle the image was too noisy but this time it was much cleaner. The only obvious difference was the amount of data I had so perhaps that is why.
Because I drizzled the image scale was now suitable for deconvolution and I spent essentially an entire evening dialing in settings for that. I don’t know if my settings were optimal but it did make a noticeable though somewhat subtle improvement. Whether it was worth the time involved is debatable.
I also chose not to do any star reduction which is a first for images I’ve done this year in Cygnus. Between deconvolution and masked stretch the stars stayed fairly small and I avoided applying any sharpening to them which kept them from getting out of hand.
There are two reasons I chose this object to image. First, Cygnus is optimally placed in the sky visible from my yard in September and October. But second, it contained emission, reflection and dark nebula components which I hoped would make an interesting composition.
As I mentioned I used the WBPP script for pre-processing and then did local normalization, integration and drizzle integration. From there I did the following steps to each of the red, green and blue master frames:
- Dynamic Crop
- Dynamic Background Extraction
- Channel Combination
Then with the combined RBG master:
- Dynamic Background Extraction (to remove some remaining gradient)
- Photometric Color Calibration
- Multiscale Linear Transform (noise reduction)
- Deconvolution
- Masked Stretch
- TGV Denoise (only on background)
- Local Histogram Equalization (only on the cocoon)
- Multiscale Linear Transform (sharpening only on cocoon)
- Curves Transformation (contrast)
- Dynamic Crop (to final framing)
I was pretty happy with how this came out especially considering how my first reaction after seeing the integrated masters was to hide. That dense star field intimidated me. I was going to avoid it until I could get more data but the weather finally made it clear that much more data would not be forthcoming. So, thanks to some encouragement from members of our local imaging group, I waded in.
I was debating how to present this. I thought about putting the cocoon at the top with the dark nebula stretching out to the bottom. This had the look a sort of flower on a stem but ultimately I liked the portrait framing slightly better. The dark nebula sort of reminds me of the slime left behind after a snail (the cocoon) went by. It turns out space is pretty dirty!
Well, that last paragraph probably says more about me than you wanted to know so I guess it’s time to sign off for now.
You can also find the image at astrobin.
