During the summer I built an all sky camera and in October did a presentation about it on The Astro Imaging Channel. However, about two weeks after that we had a major wind event and it toppled my temporary mast and cracked the housing for the camera. The parts inside survived but the case was not salvageable. It’s taken a couple of months to decide on a new build approach but it is finally done.
In the first version all the components were inside one large box. This presented a fairly high wind load so I wanted to keep the camera housing as small as possible. I also wanted to minimize the number of cables needed.
That meant two things. The first was to use power over ethernet to power the raspberry pi and the other was to have two boxes. The larger box would be kept at ground level (eventually it will be inside an observatory) for network and power. The second, smaller box would contain the camera and pi.

The final result is shown above. The network and power equipment are in a waterproof box down below.
In my case the box below holds a Zyxel 5-port PoE Gigabit Switch, an Eero mesh node and a power strip.
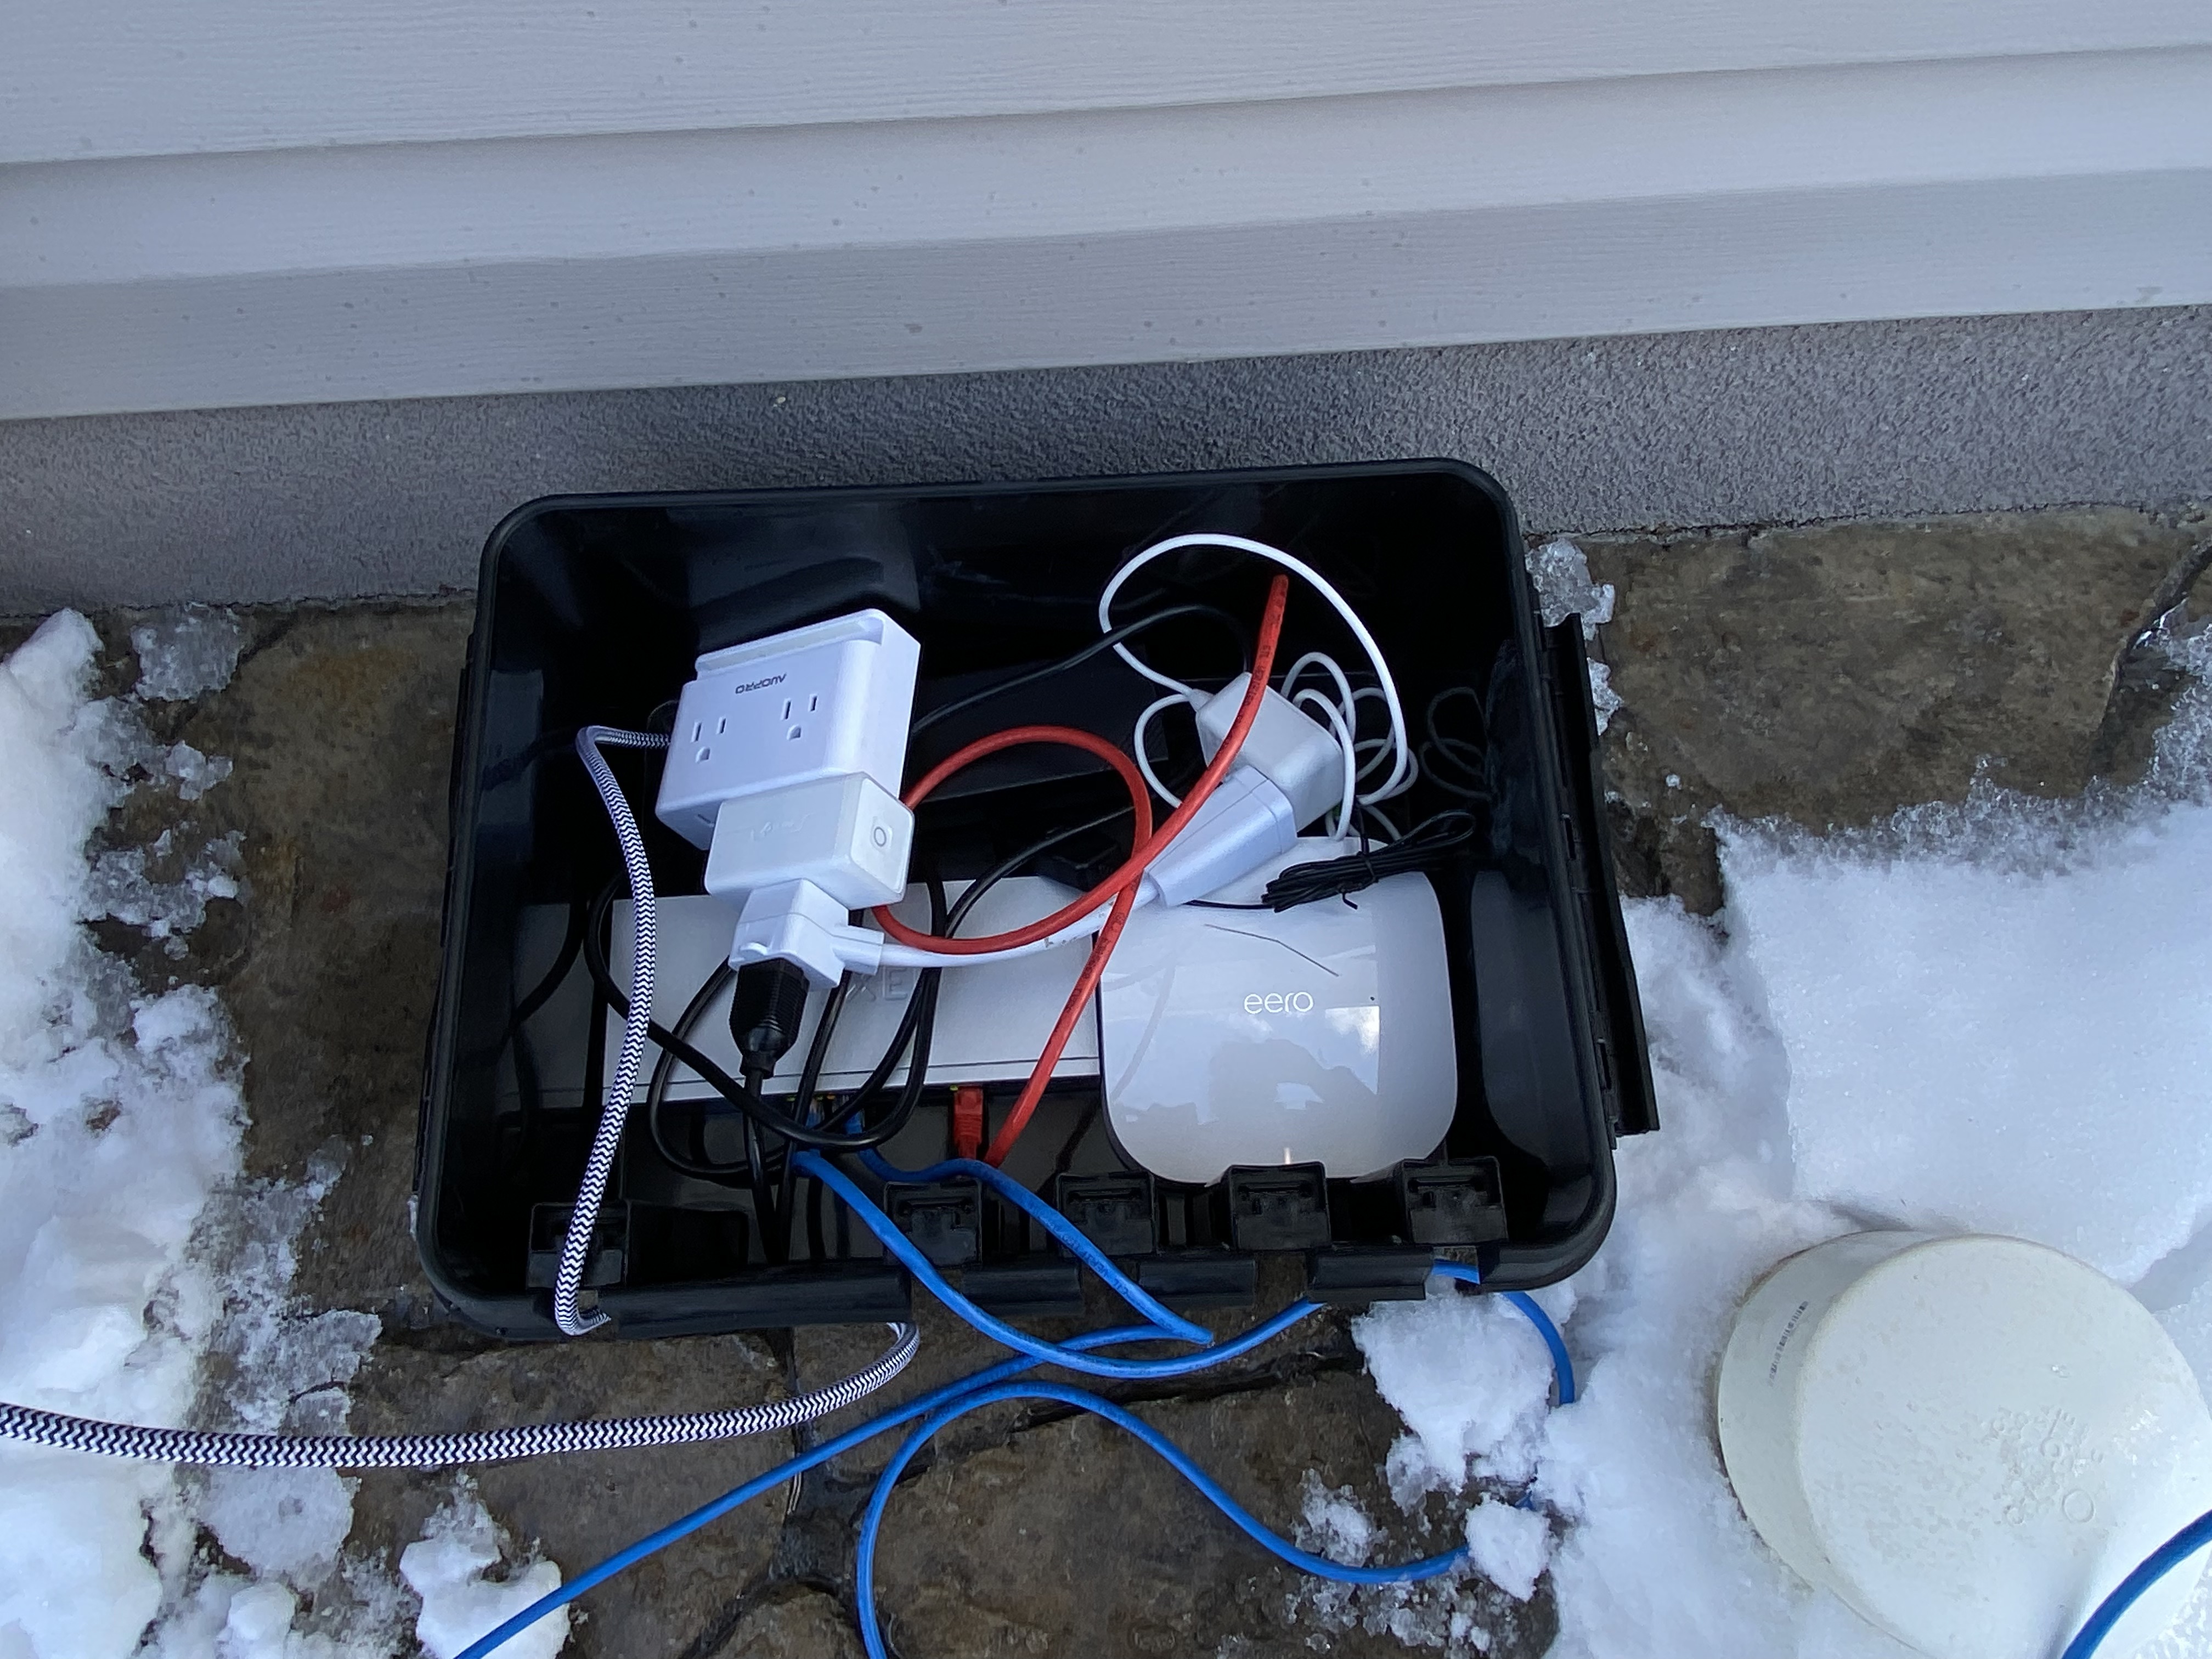
Both the sky quality meter and pi for the all sky camera are getting power over ethernet meaning that only one cable has to go to each.
I used a much smaller waterproof junction box for the pi and the camer and it was almost too small. I hadn’t realized the PoE hat for the pi would prevent it from fitting into the case pi case I had been using and the larger case that would handle the PoE hat would not fit into the junction box. I opted to leave the pi naked.
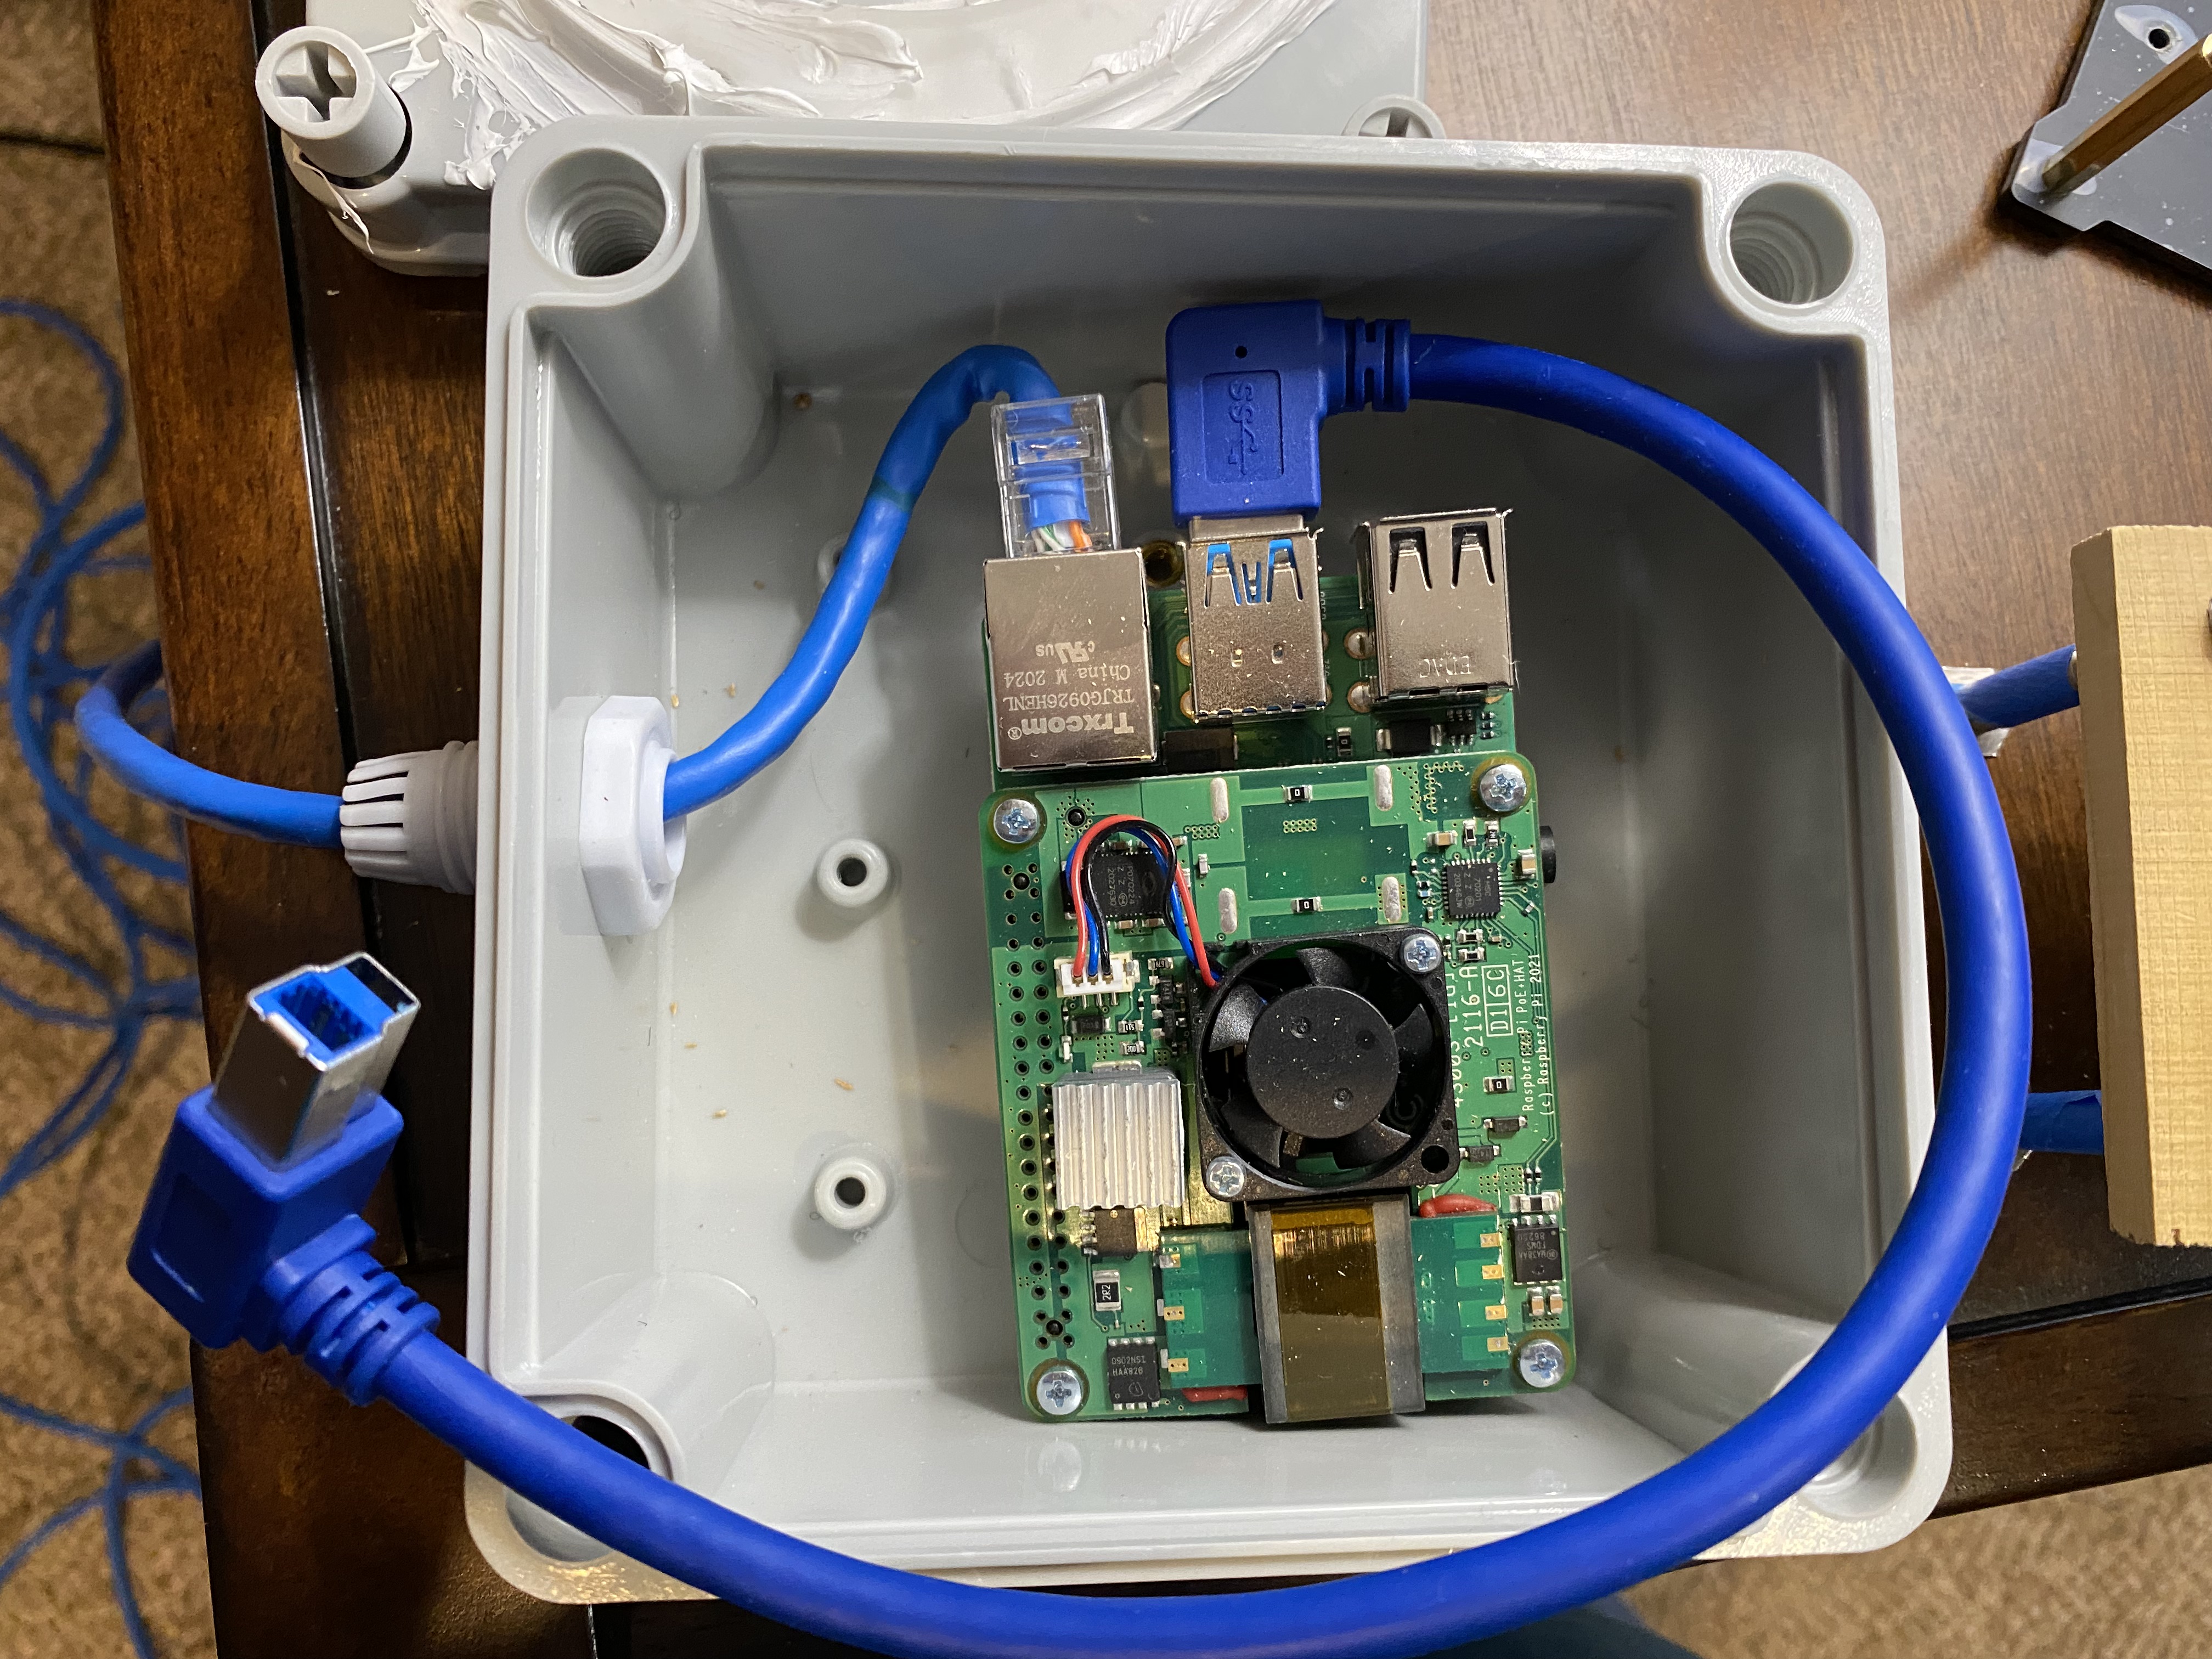
Thanks to power over ethernet I only had to drill one hole for a cable gland. Ultimately I cut out a piece of plastic to place under the Pi in the housing but that isn’t shown in this picture. To hold the camera I made a small platform using 1/4×20 bolts and a piece of wood.

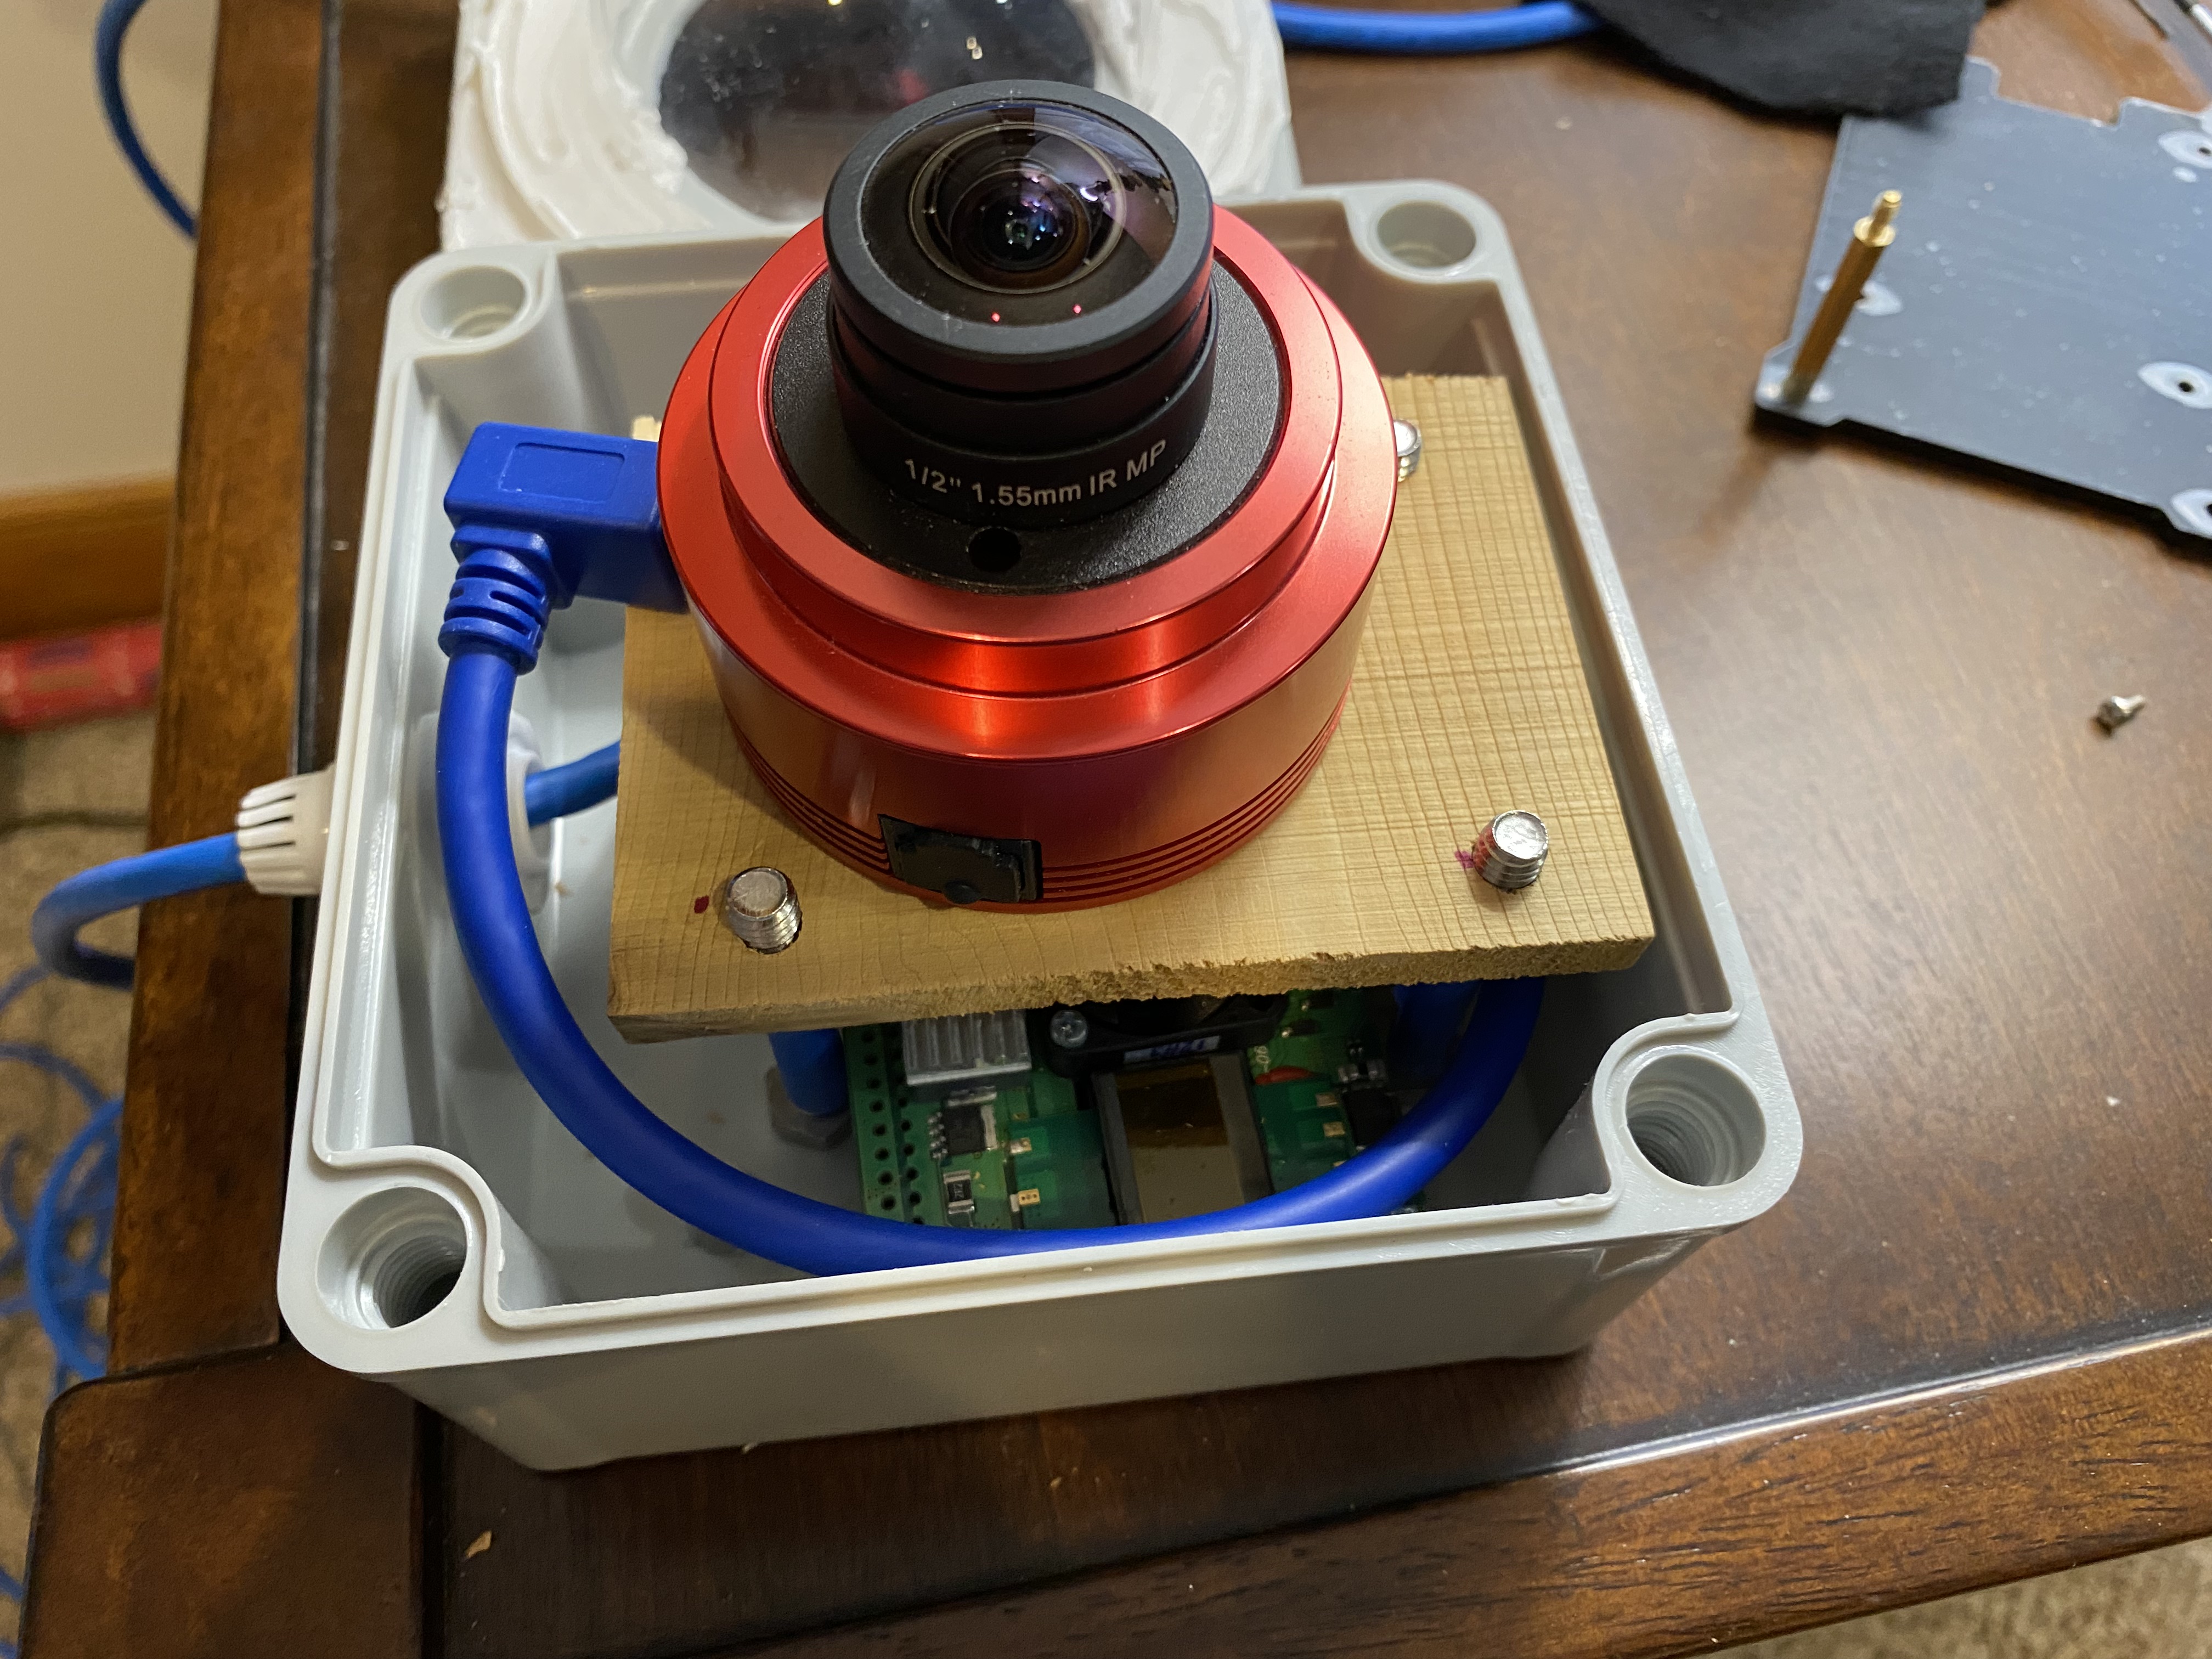
Finally to combat reflections, I cut a small piece of black material and cut a hole for the camera lens. This was laid on top.

This helps keep the inside of the housing cooler and it also prevents reflections from the shiny, red ZWO camera from the dome.
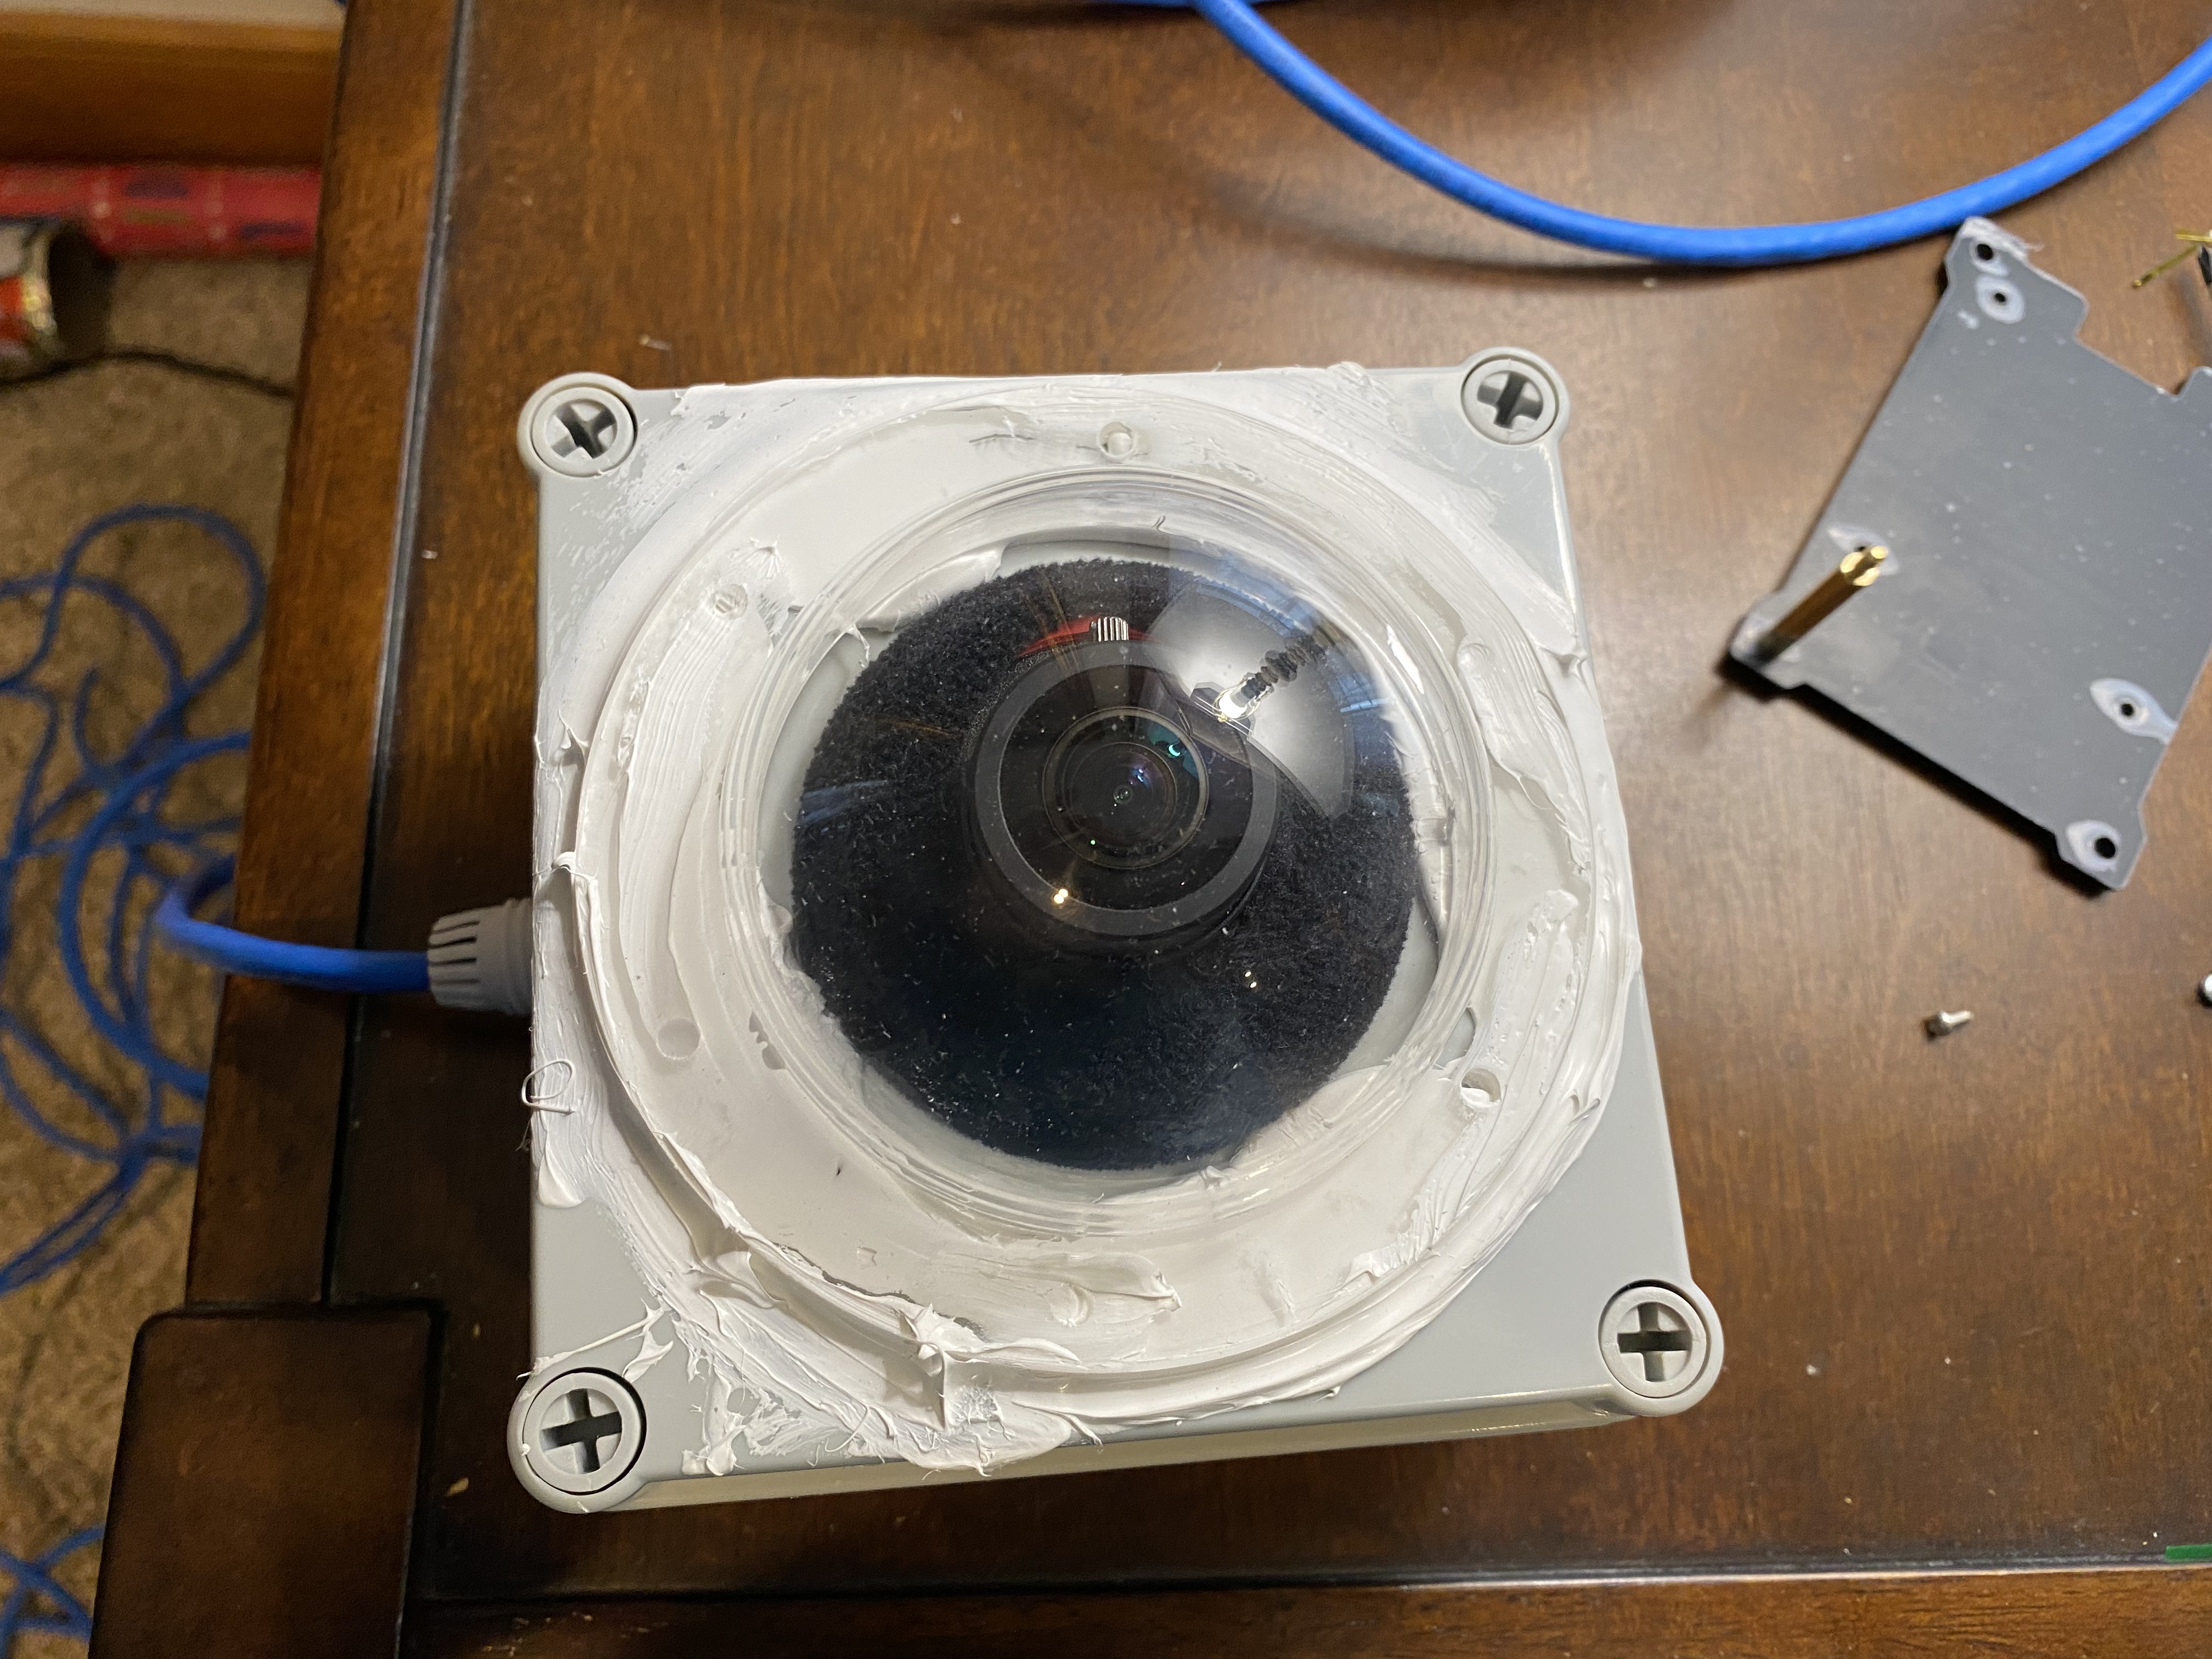
I used a 3-inch acrylic dome and note my stylish application of silicone sealer! To attach this to the mast I used a bracket and hose clamps with a piece of wood attached to the bracket.

The camera housing was attached to the wood with velcro.
I have not had this together long but with indoor testing I have observed higher temperatures at the camera sensor and CPU than in the older larger housing. I have ordered two IP67 Air and Moisture Vents that will attach to the sides in the same way cable glands do. Hopefully these will allow hot air to vent out and keep the inside a bit cooler. I don’t mind some heat as it helps prevent dew but the CPU was running at 60C when the room it was in was at 22C so I was concerned that when we have summer heat that the Pi would become too hot. I’ll update this with details on how this worked out once I have them.
For software I’m using the same All Sky software as in the previous version though I did update the SD card to 128GB so more images could be stored on the Pi.
In my case the all sky camera is going to be behind a detached garage. It will be about 150 feet from the house and won’t have any wired access available. It is also too far for the house wifi to reach. So, I hooked the PoE router up to an addition Eero mesh wifi node and it can reach the node in the garage which in turn reaches the house. It’s been reliable so far but is a fairly expensive way to solve the problem. However if your all sky camera is close to the house or attached to an observatory then wifi or wired network access should be much more accessible. Once I can get my observatory built that mesh wifi node will provide wifi in the observatory so it won’t end up being a wasted purchase.
Here is the parts list for this build. Note that the Amazon, Highpoint and OPT links are affiliate links.
These are parts for the all sky camera and housing:
- LeMotech Waterproof Dustproof IP67 Junction Box DIY Case Enclosure Gray 4.9 x 4.9 x 3 inch (125 x 125 x 75 mm). (this turned out to be very tight…you might want the next largest size)
- SupremeTech Acrylic Dome/Plastic Hemisphere – Clear (I used the 3 inch)
- MAKERELE Cable Gland Kit 45PCS Nylon Waterproof Adjustable 3-15mm Cable Glands Joints,White
- Vilros Raspberry Pi 4 4GB Basic Starter Kit with Fan-Cooled Heavy-Duty Aluminum Alloy Case (I ended up not using this case so you might want to choose a different kit)
- Raspberry Pi PoE+ HAT with Low Profile Heatsink (if you don’t plan to use power over ethernet you can omit this)
- Seadream 1 ft / 30cm SuperSpeed USB 3.0 A Male Plug 90 Degree Left Angle to USB 3.0 B Male Right Angle Cable
- ZWO ASI385MC (Highpoint) (OPT)
- StarDot LEN-2M1.55MMCS 1.55-1.55mm f/1.5-1.5 Fisheye Body only Camera Lens, Black (not currently available and I don’t know of good alternatives however the ZWO supplied lens will work but is not as wide)
- IP67 Air and Moisture Vent (I have two on order and will update the article with the results)
- Fox Baby Universal Vertical Pole Mounting Bracket for CCTV Security Camera PTZ Dome, Wall Mounting Loop Bracket with 8 Loops (2 Pcs)
These links are for alternate cameras:
- ZWO AIS178MC (360 degree image circle with the StarDot lens) (Highpoint) (OPT)
- ZWO ASI224MC (cheaper option but smaller field of view) (Highpoint) (OPT)
This list contains supporting equipment that are not part of the camera itself but might useful in constructing the camera or in attaching it to your network.
- Zyxel 5-Port Gigabit Ethernet Web Managed PoE Switch with 60 Watt Budget [GS1200-5HP]
- Amazon eero Pro 6 tri-band mesh Wi-Fi 6 (this only makes sense if you are using Eero’s as your WiFi)
- RJ45 Crimp Tool Kit All-in-one Crimping Tool (for attaching RJ45 to network cable inside the housing)
- Cat6e Bulk Cable Raw 100ft Pure Copper, Outdoor/Indoor Heat Resistant
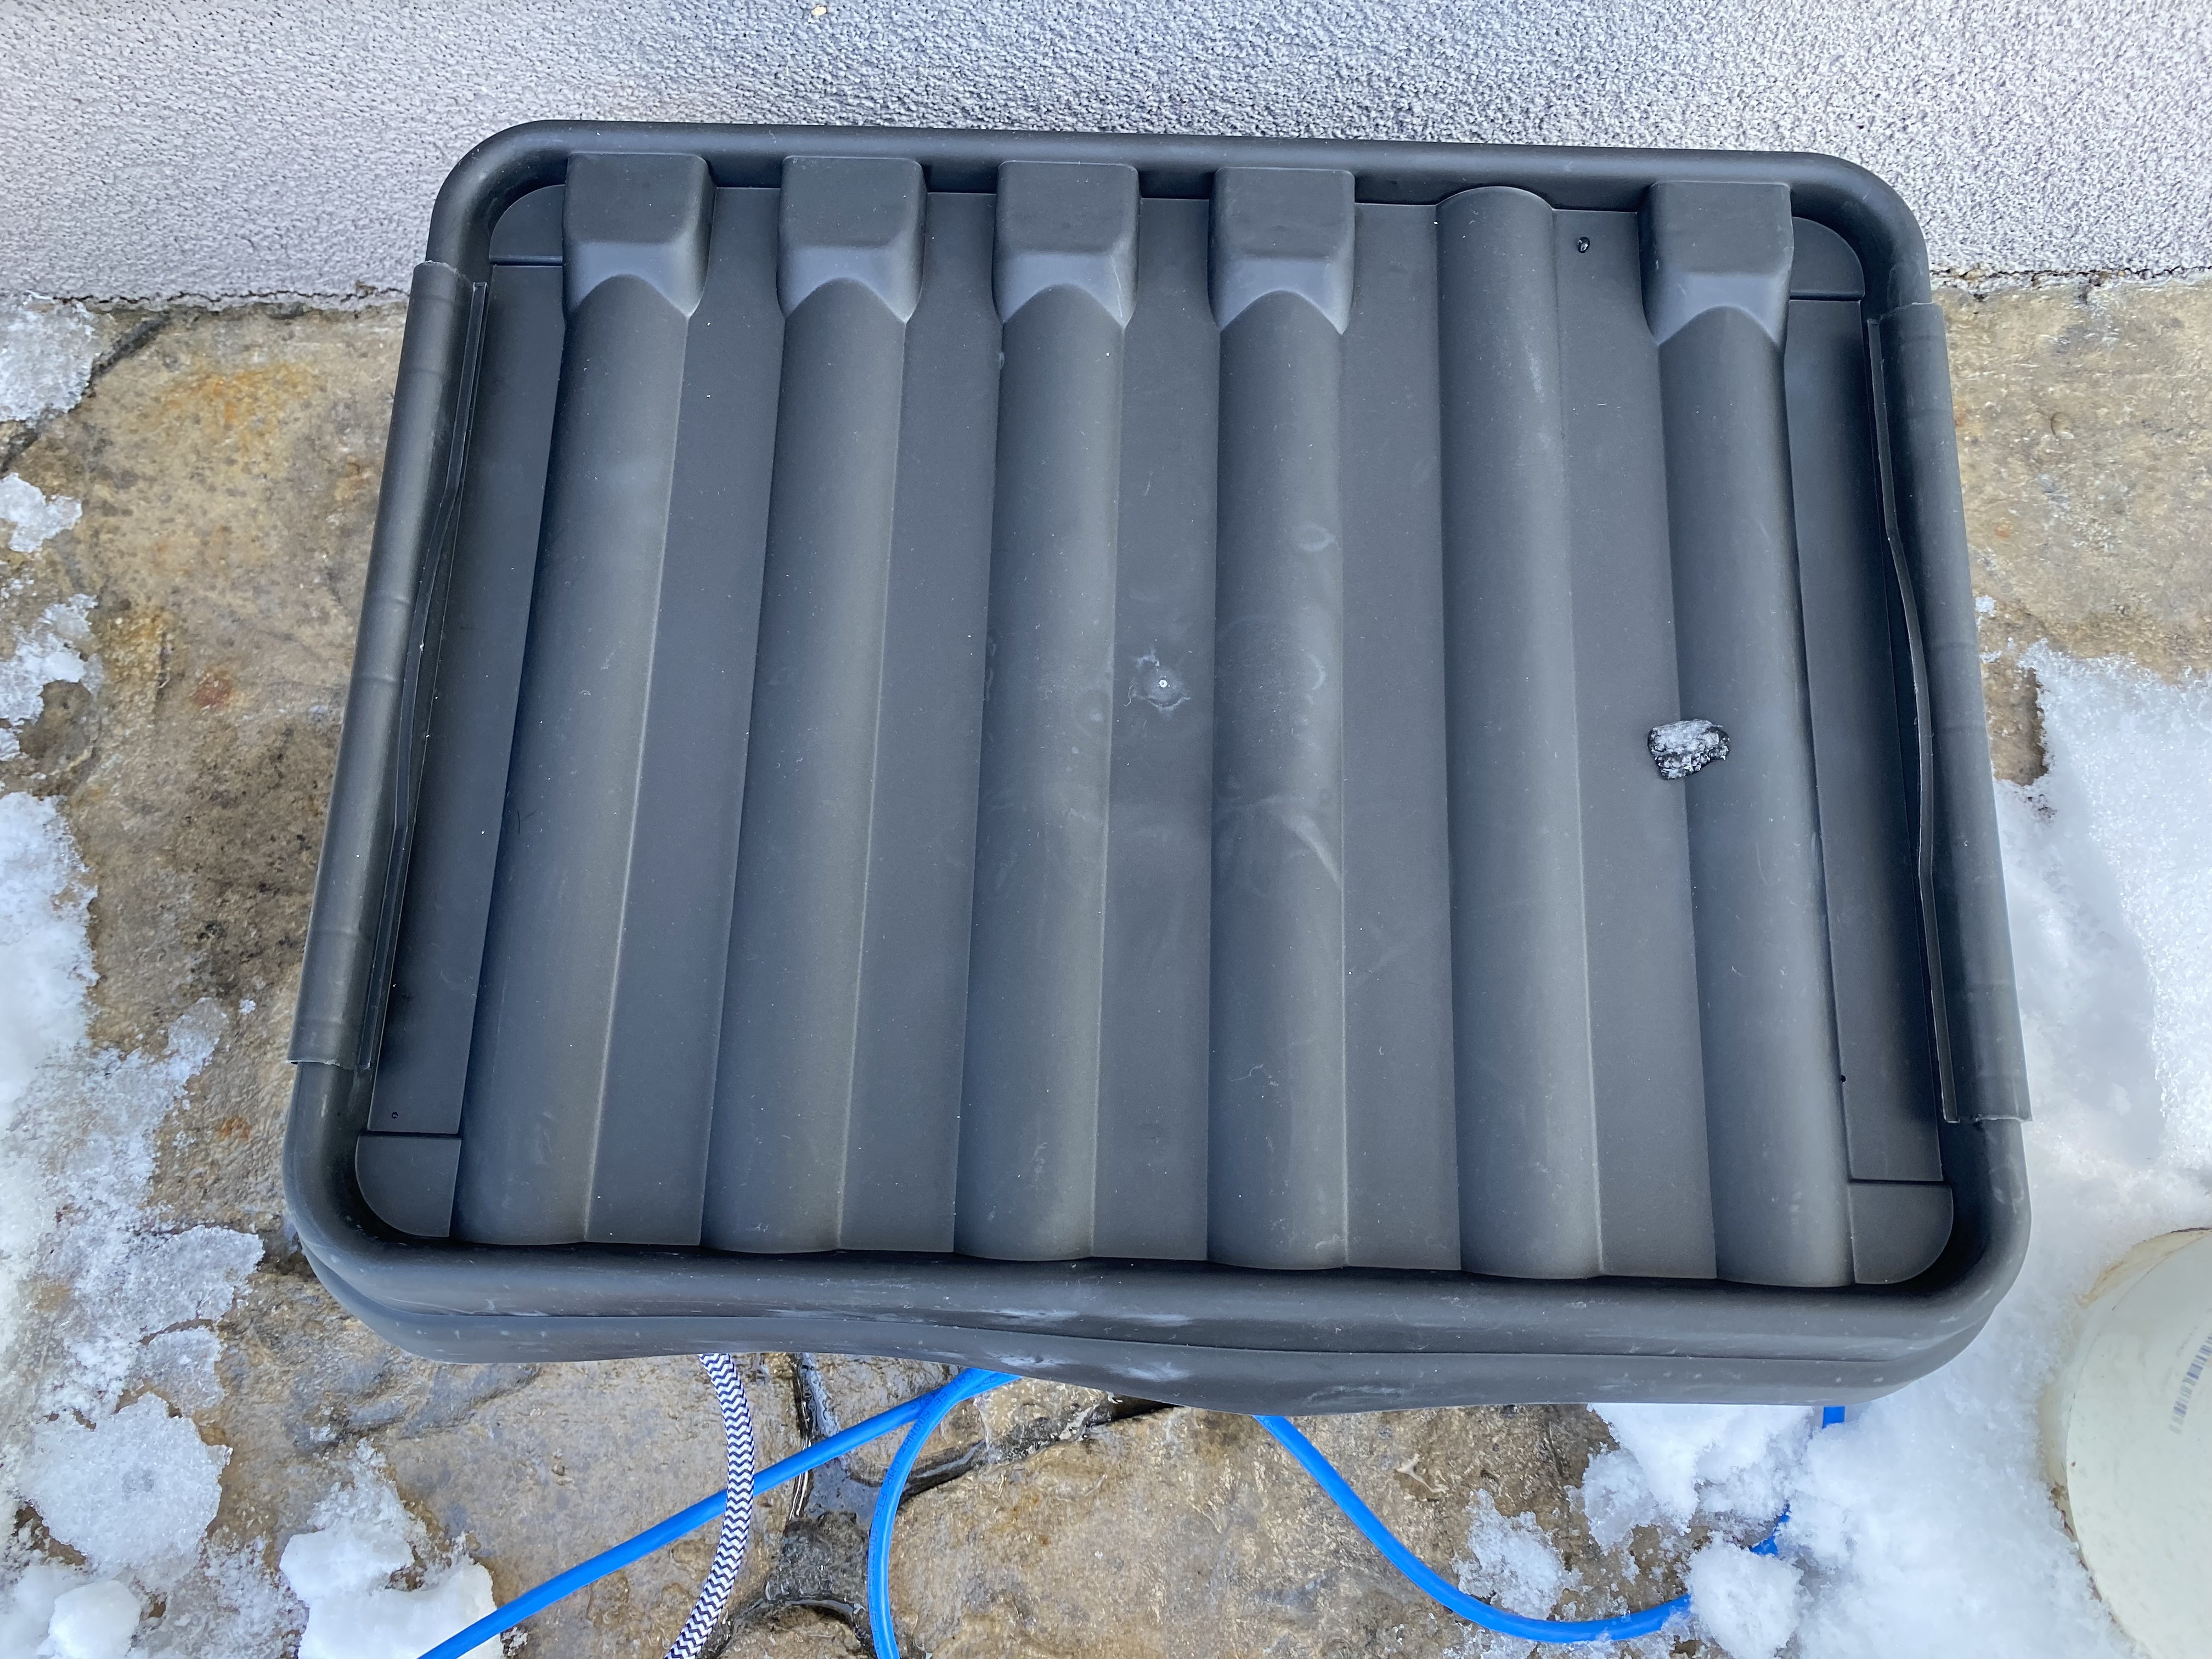
- SOCKiTBOX – large – black (I used this to hold the networking and power equipment at the bottom of the mast)
- Outdoor Power Strip (my power strip is in a weatherproof box but the cord is exposed to the elements so I opted for one with a hopefully more durable cord) or you can use the power strip you have with an outdoor extension cord)
- Kasa KP115 Smart Plug Mini with Energy Monitoring
- Nicunom 13-Piece Spade Drill Bit Set, Paddle Flat Bits for Woodworking, Hole Cutter, Assorted Bits 1/4″ to 1″ with Plastic Storage Case
